


A passwordless (biometric based) web authentication system.


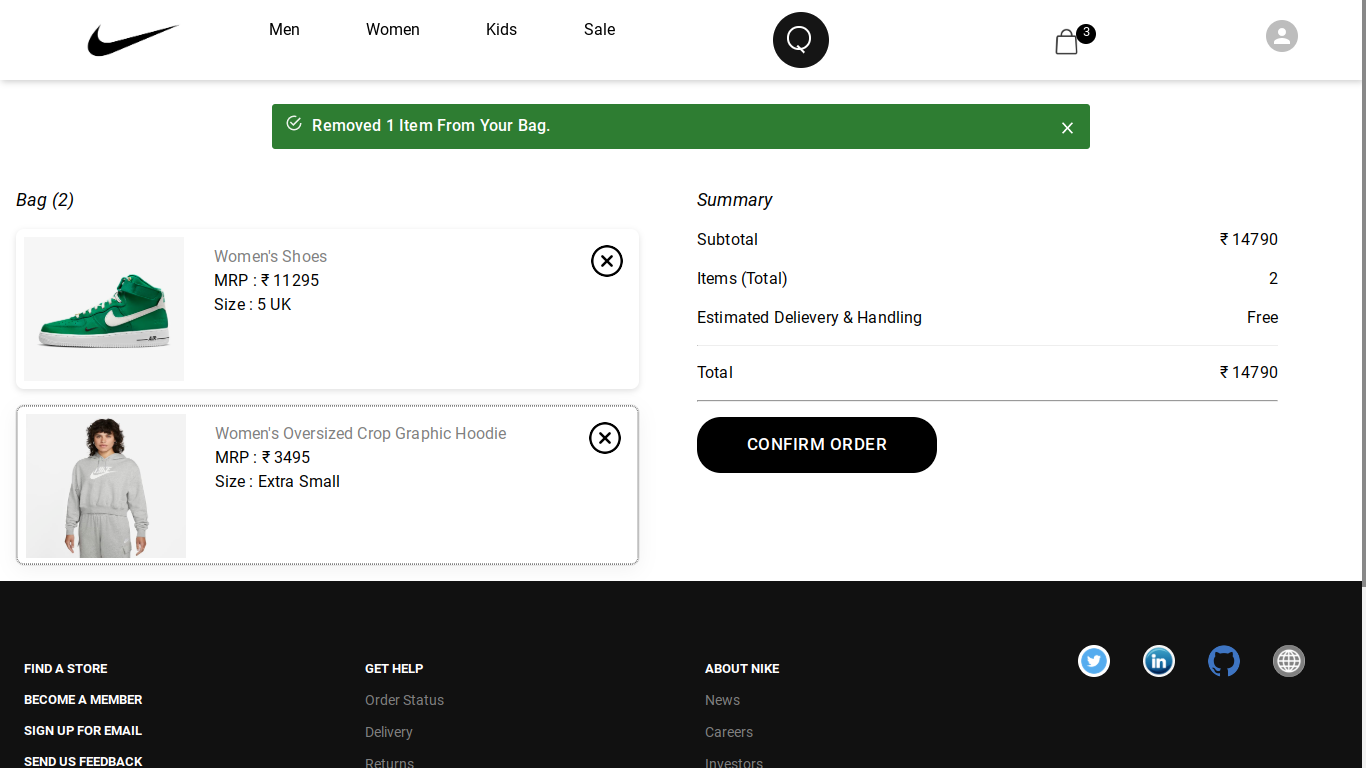
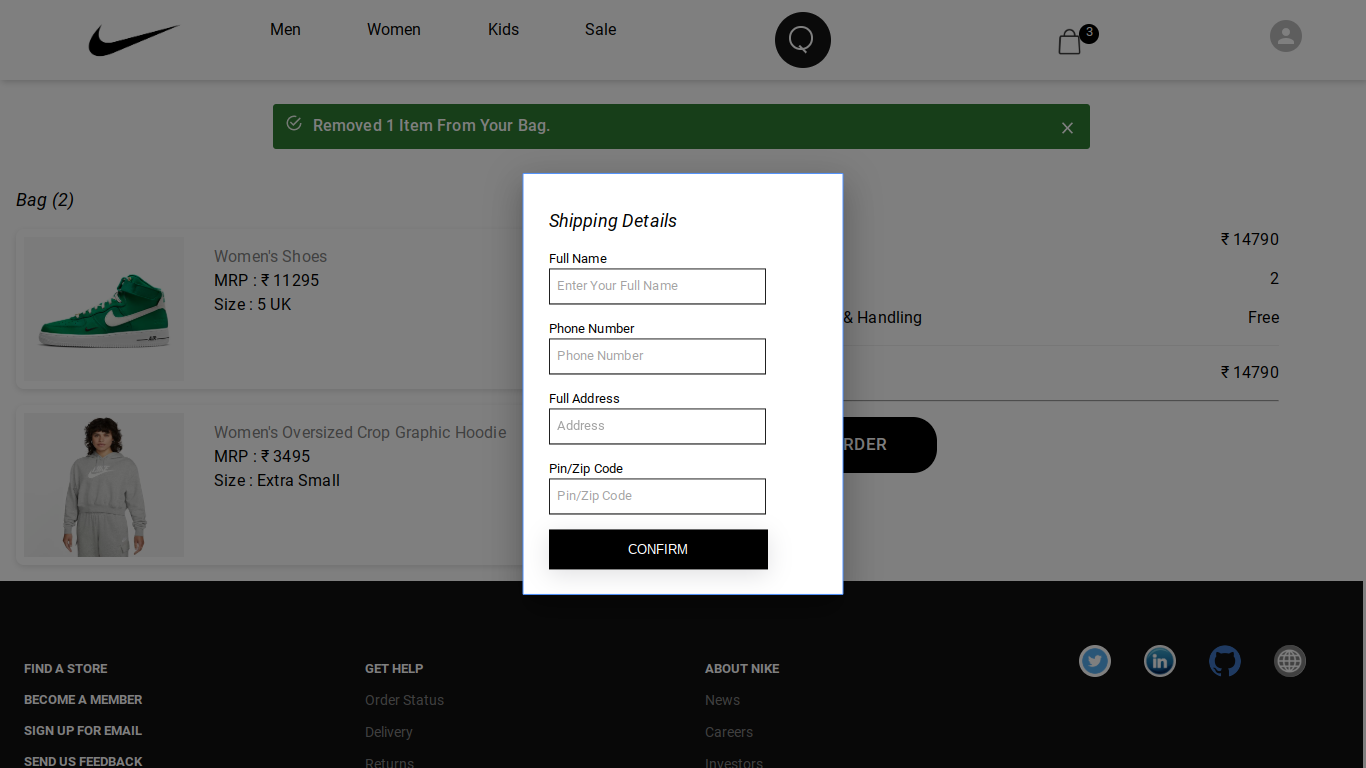
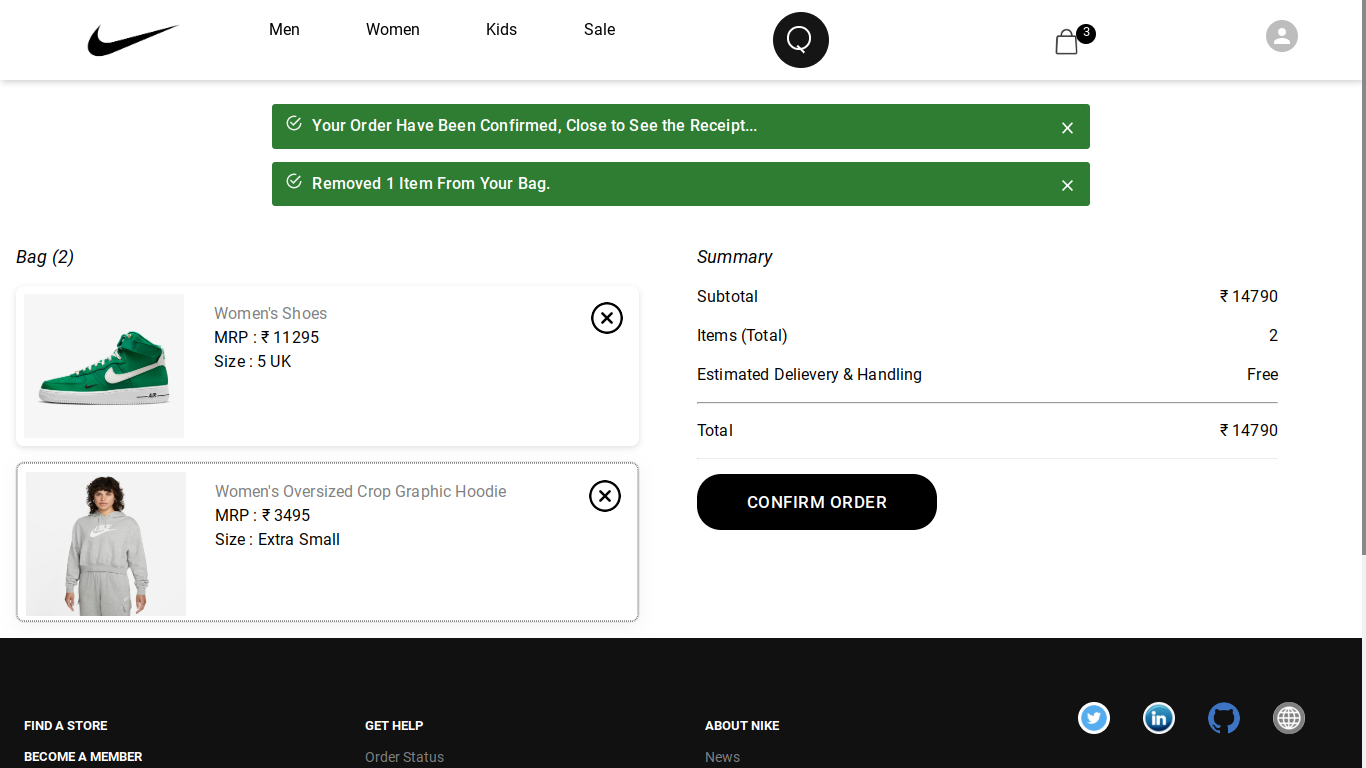
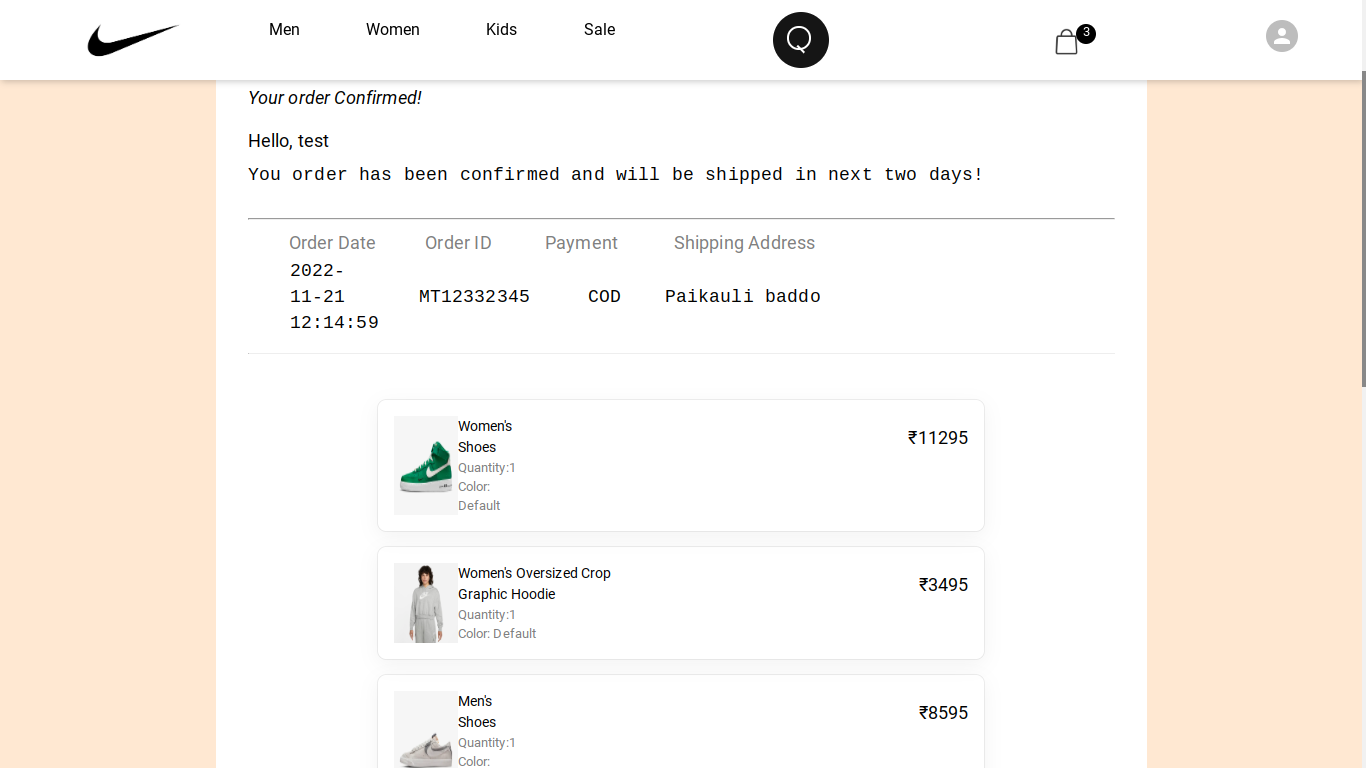
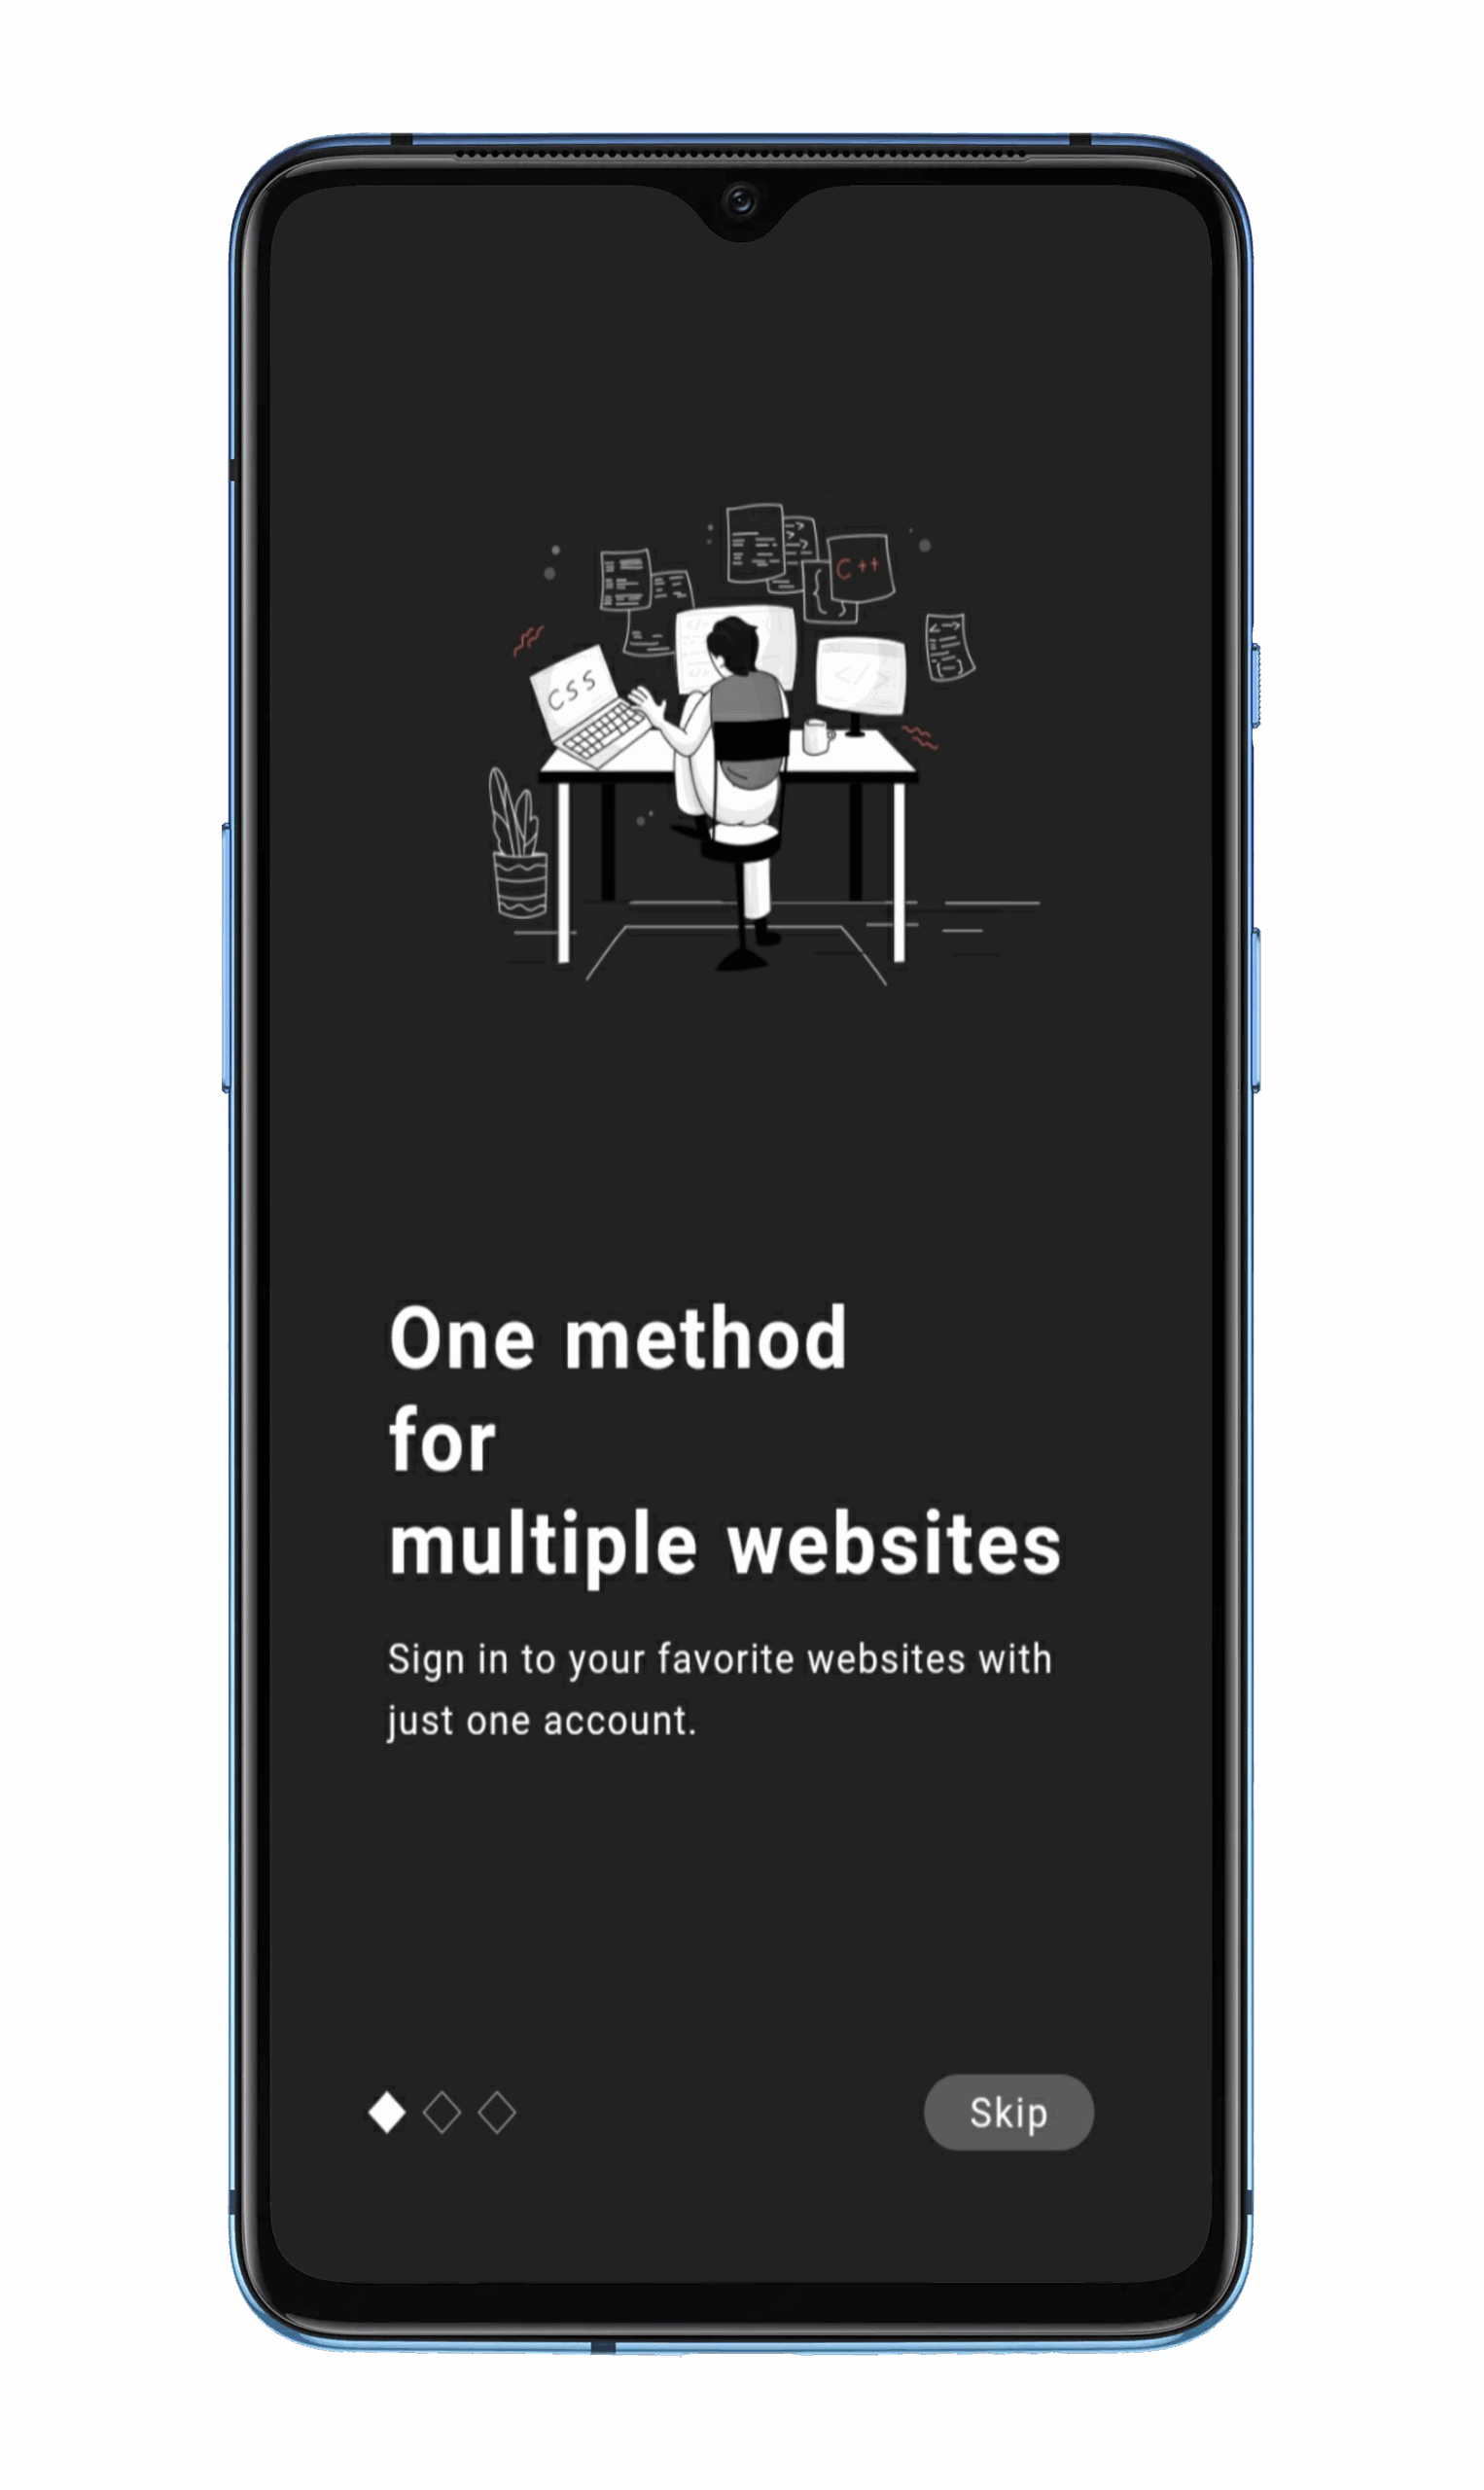
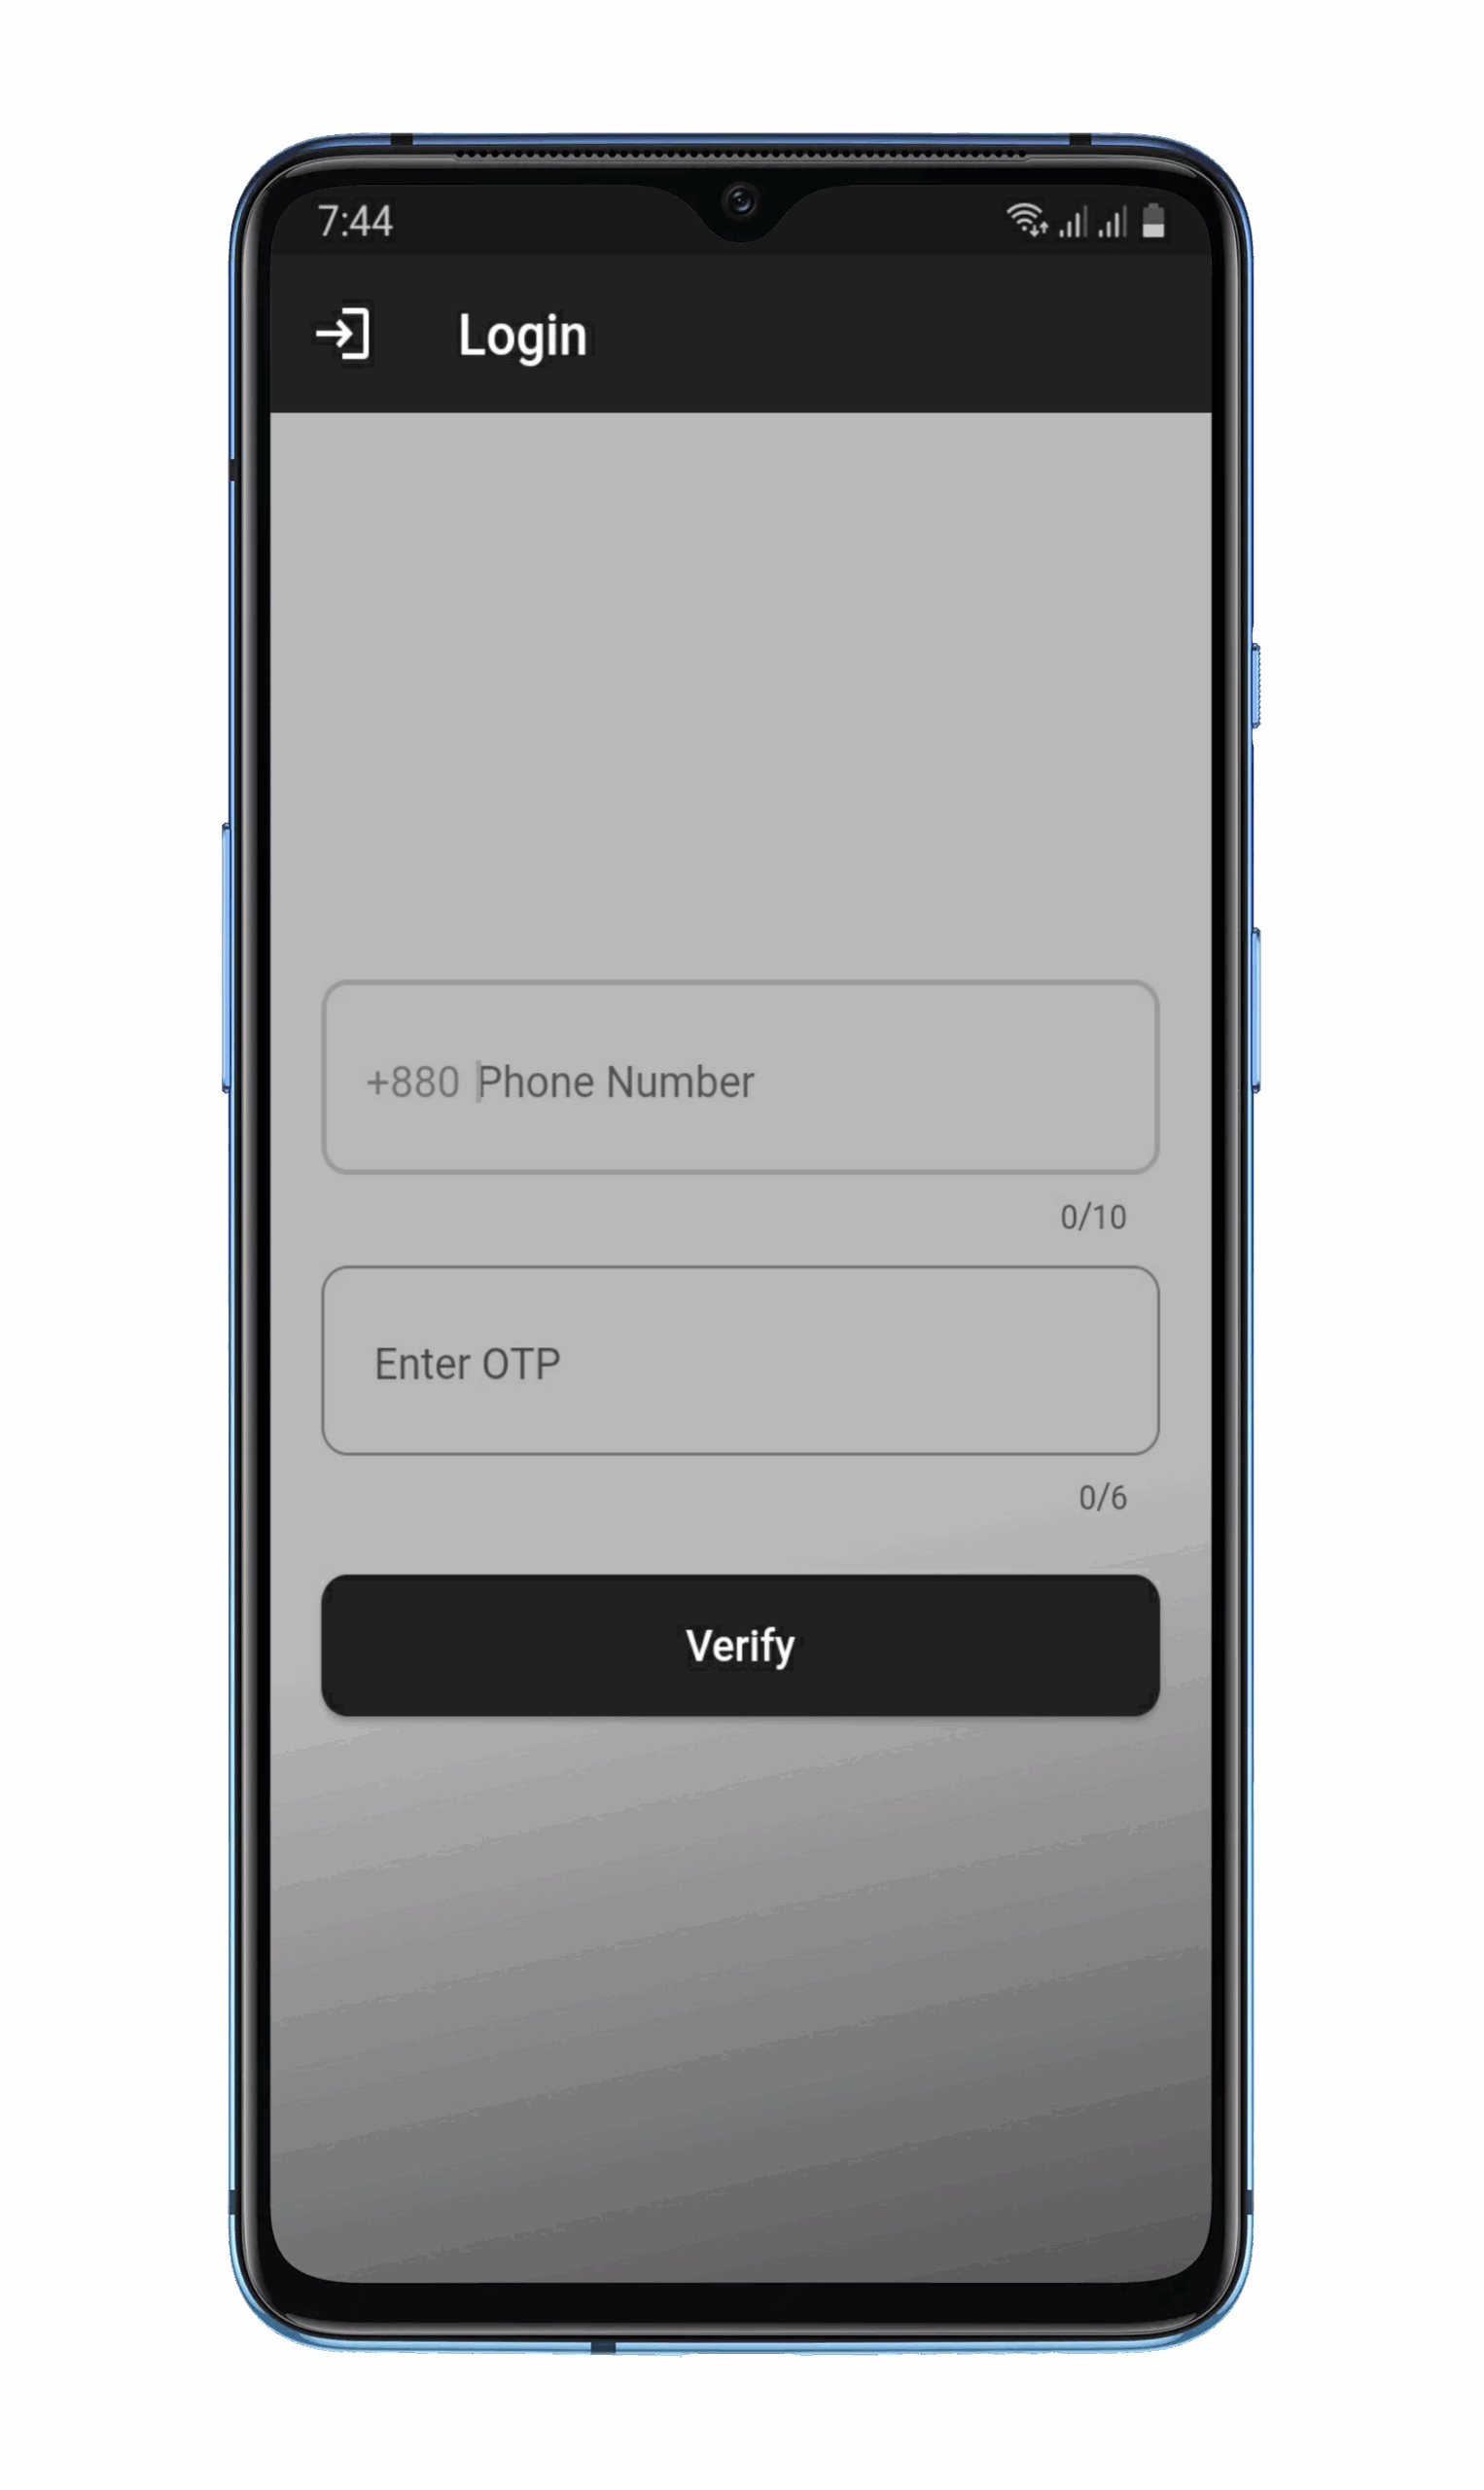
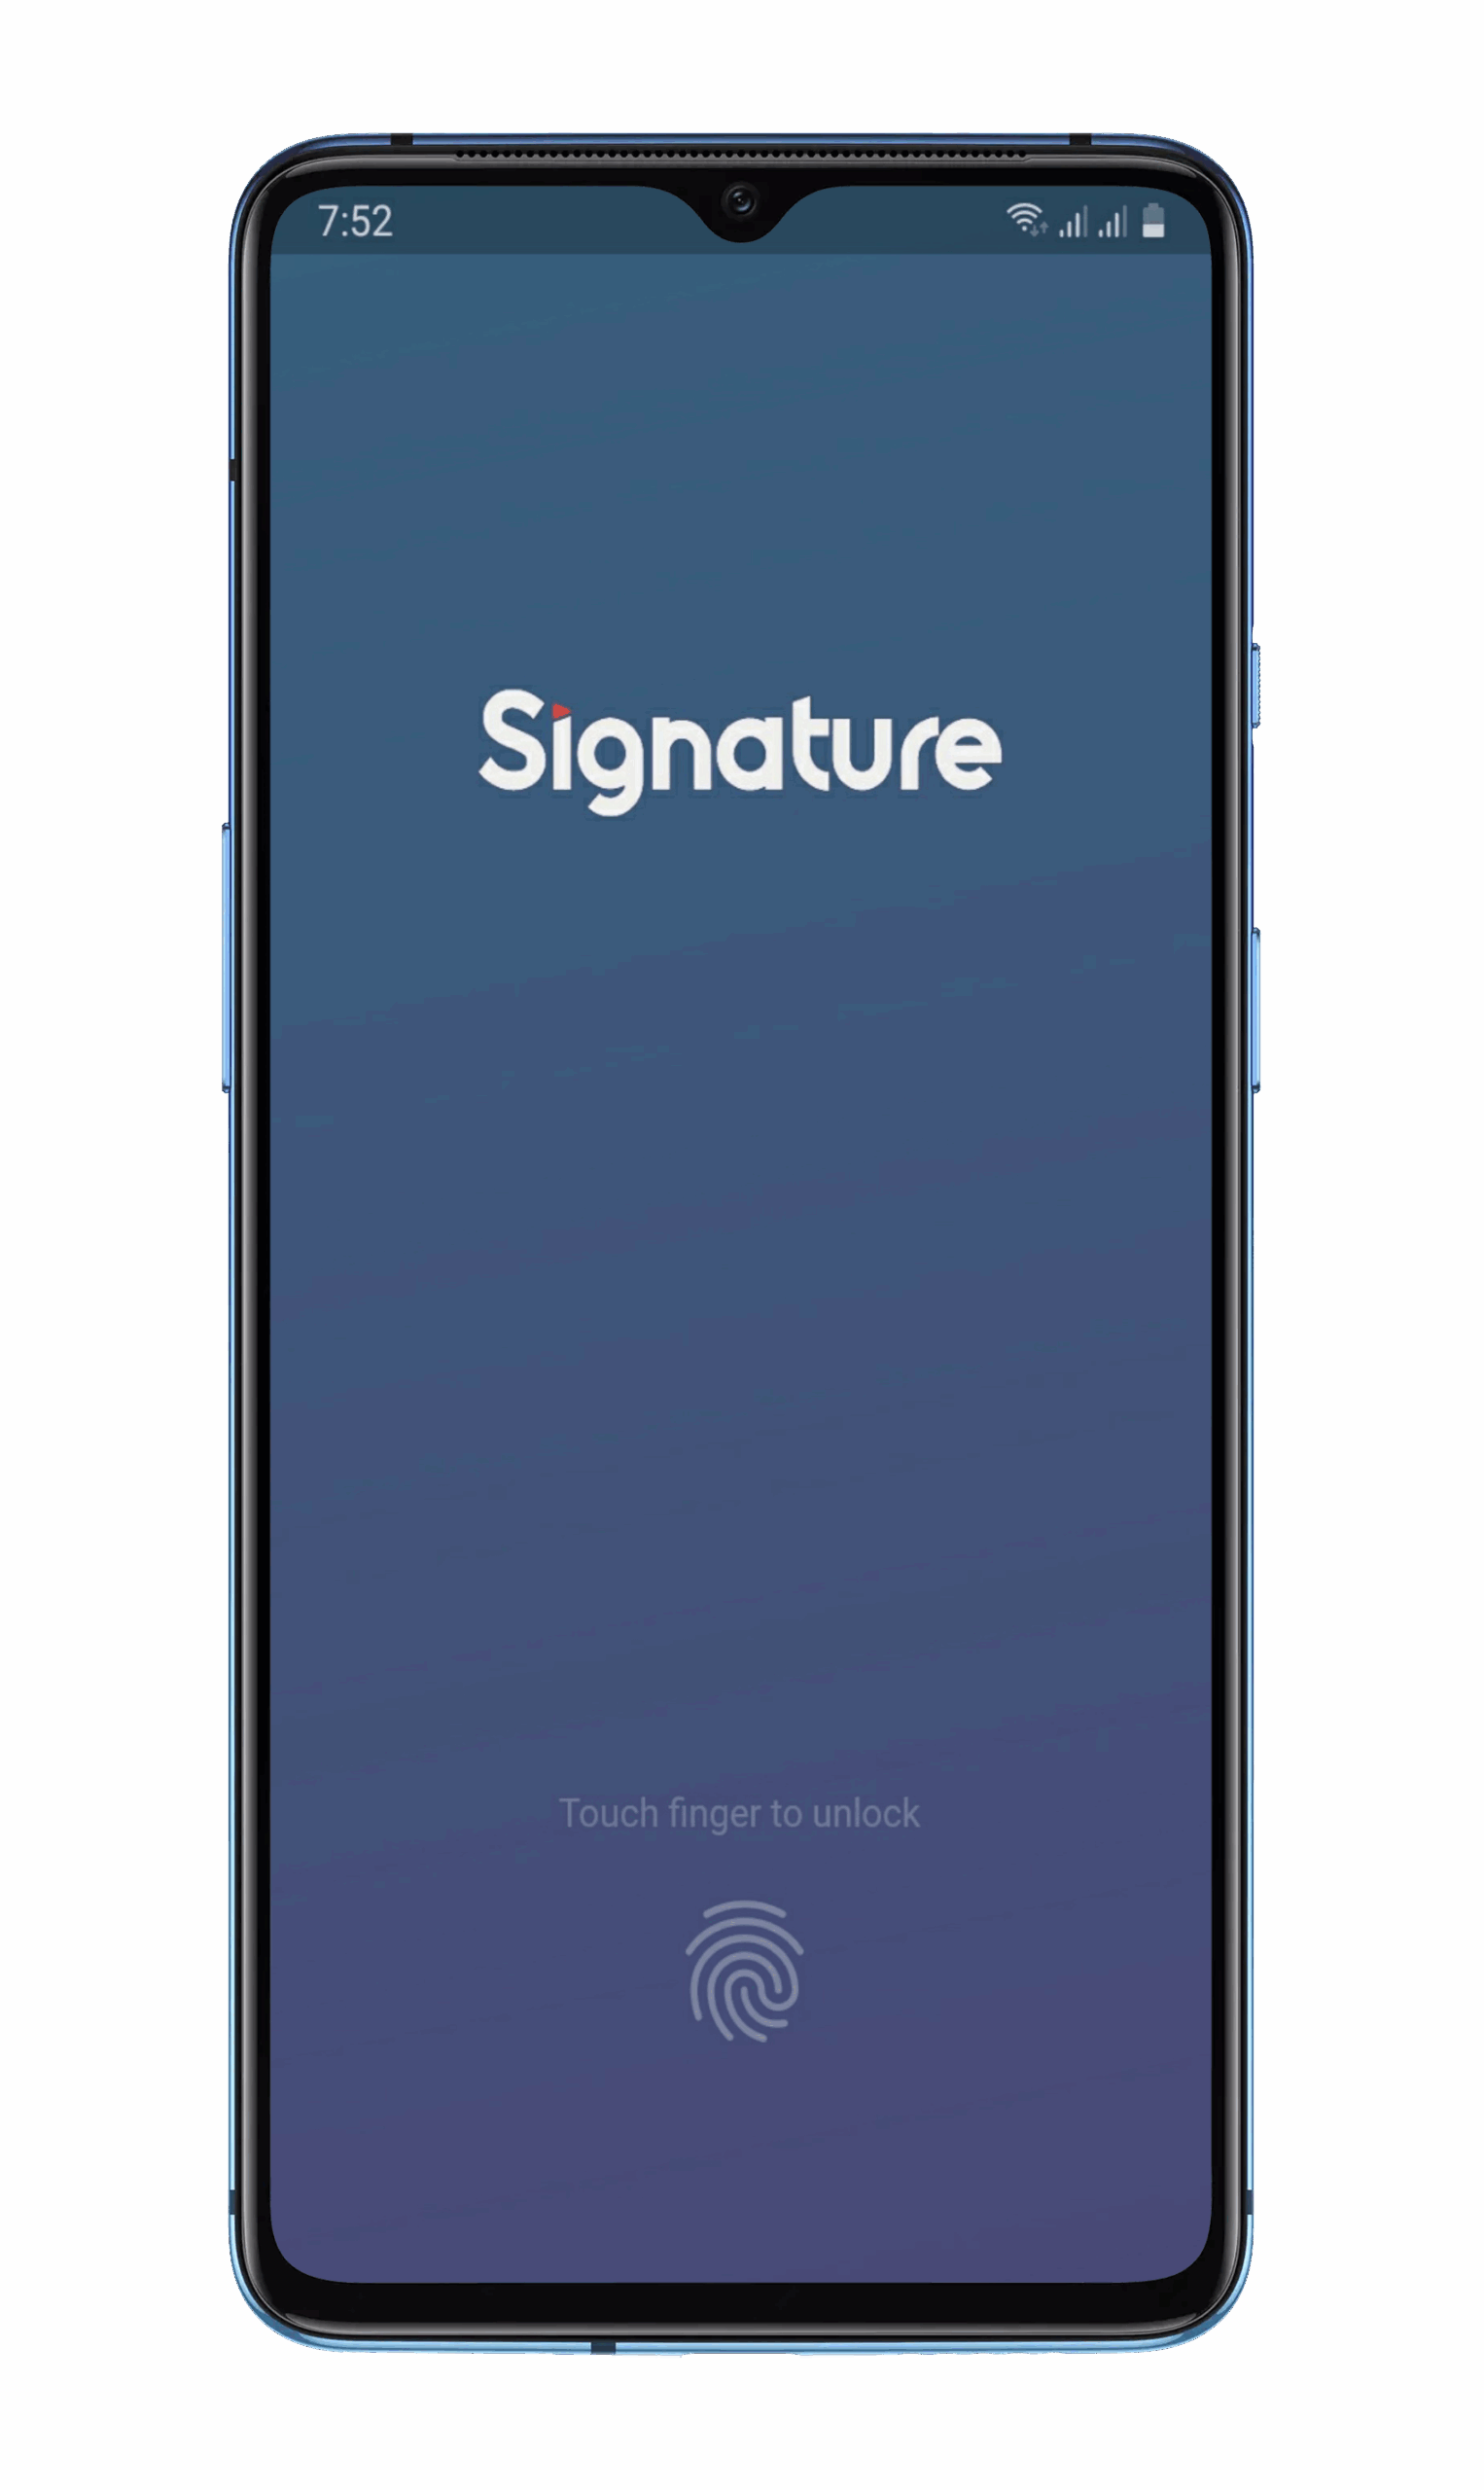
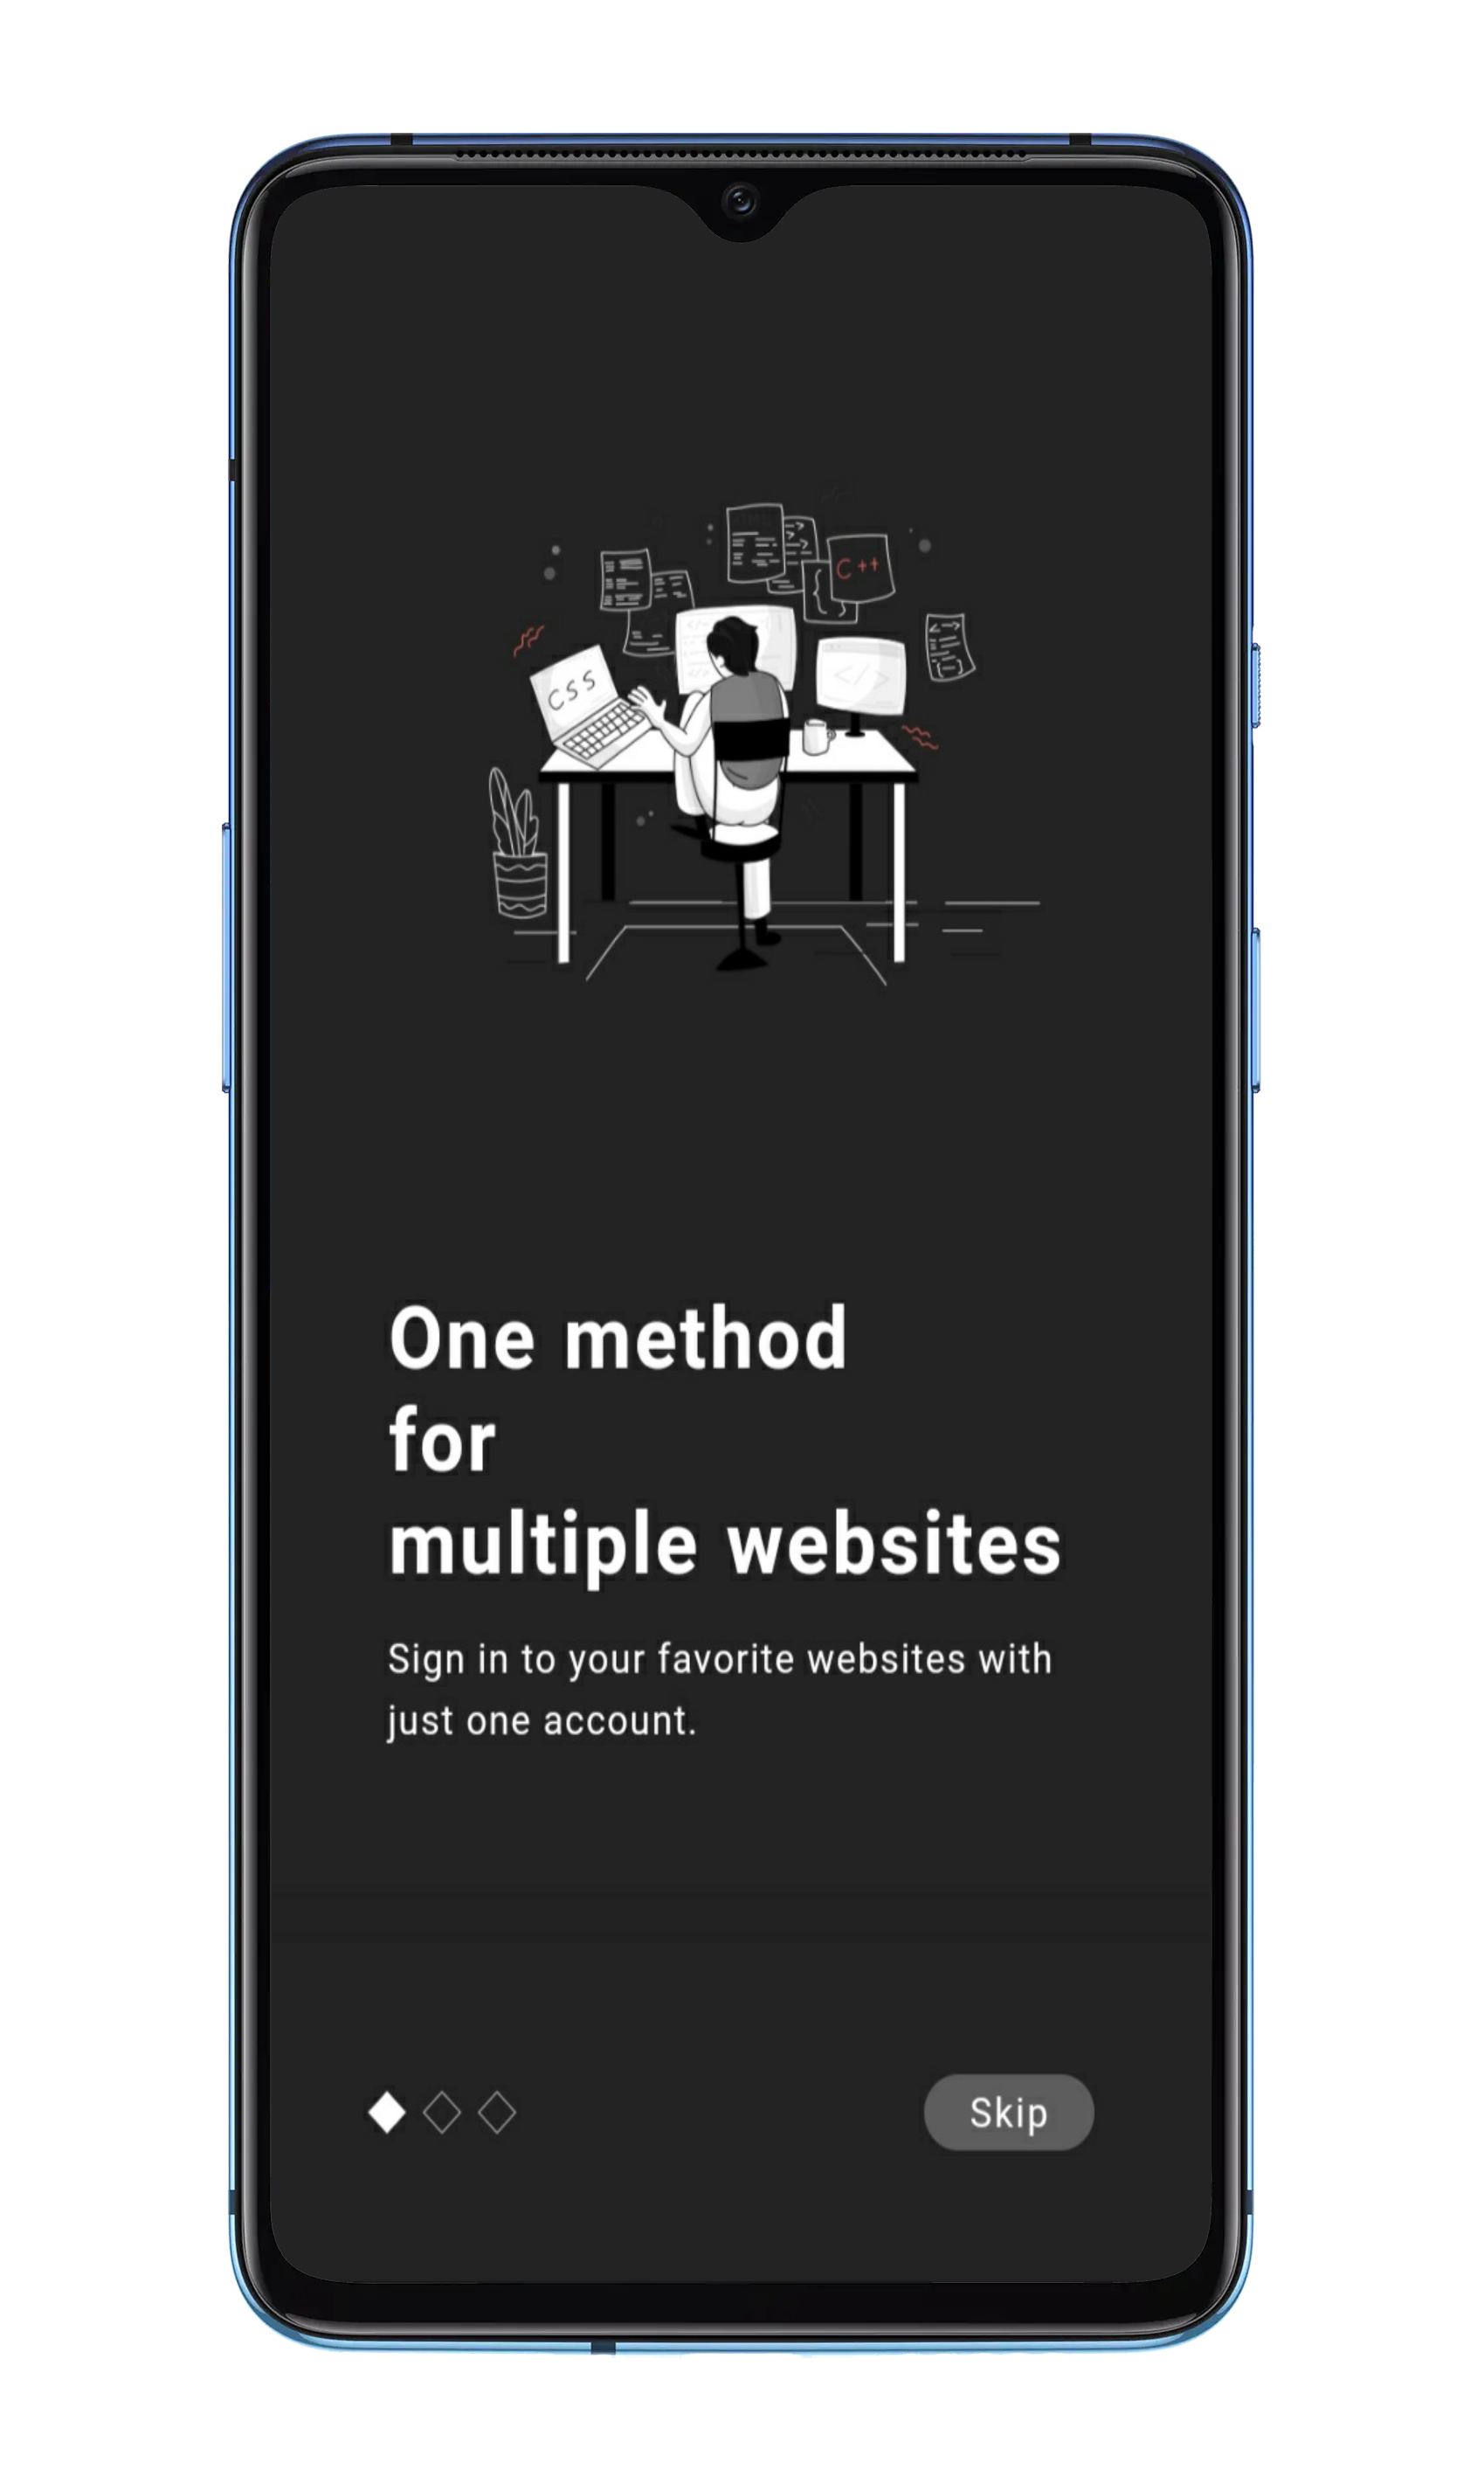
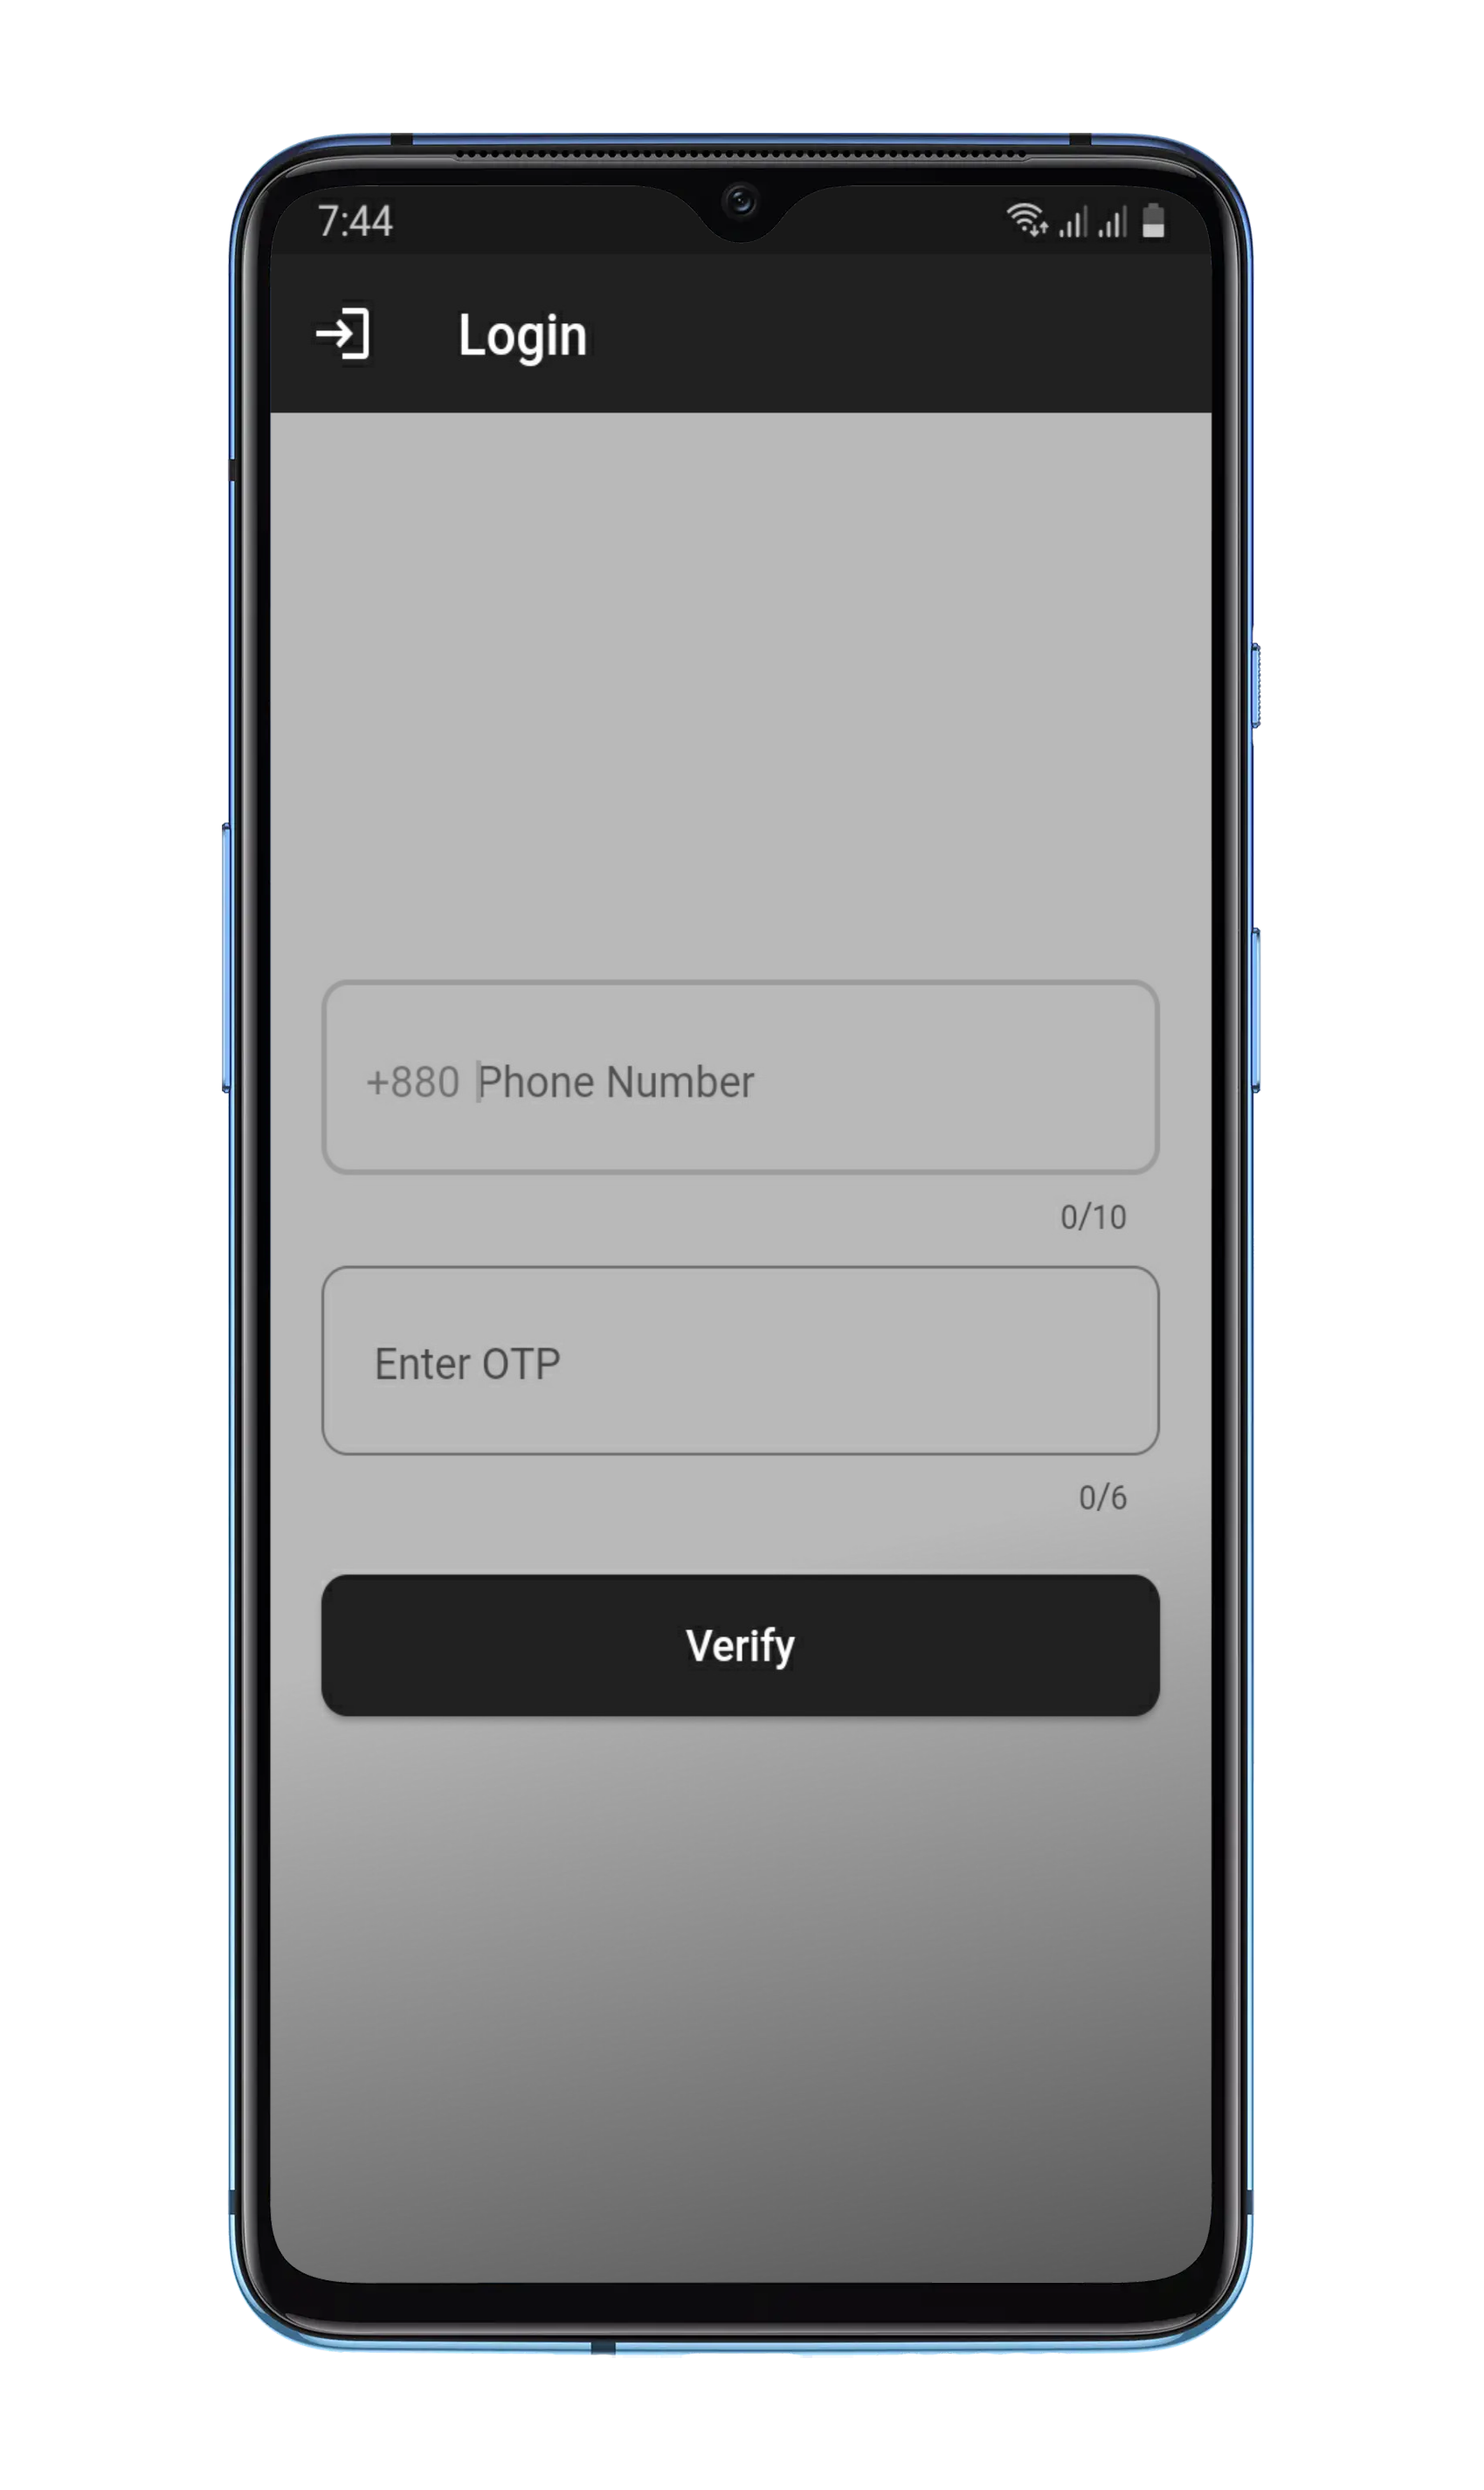
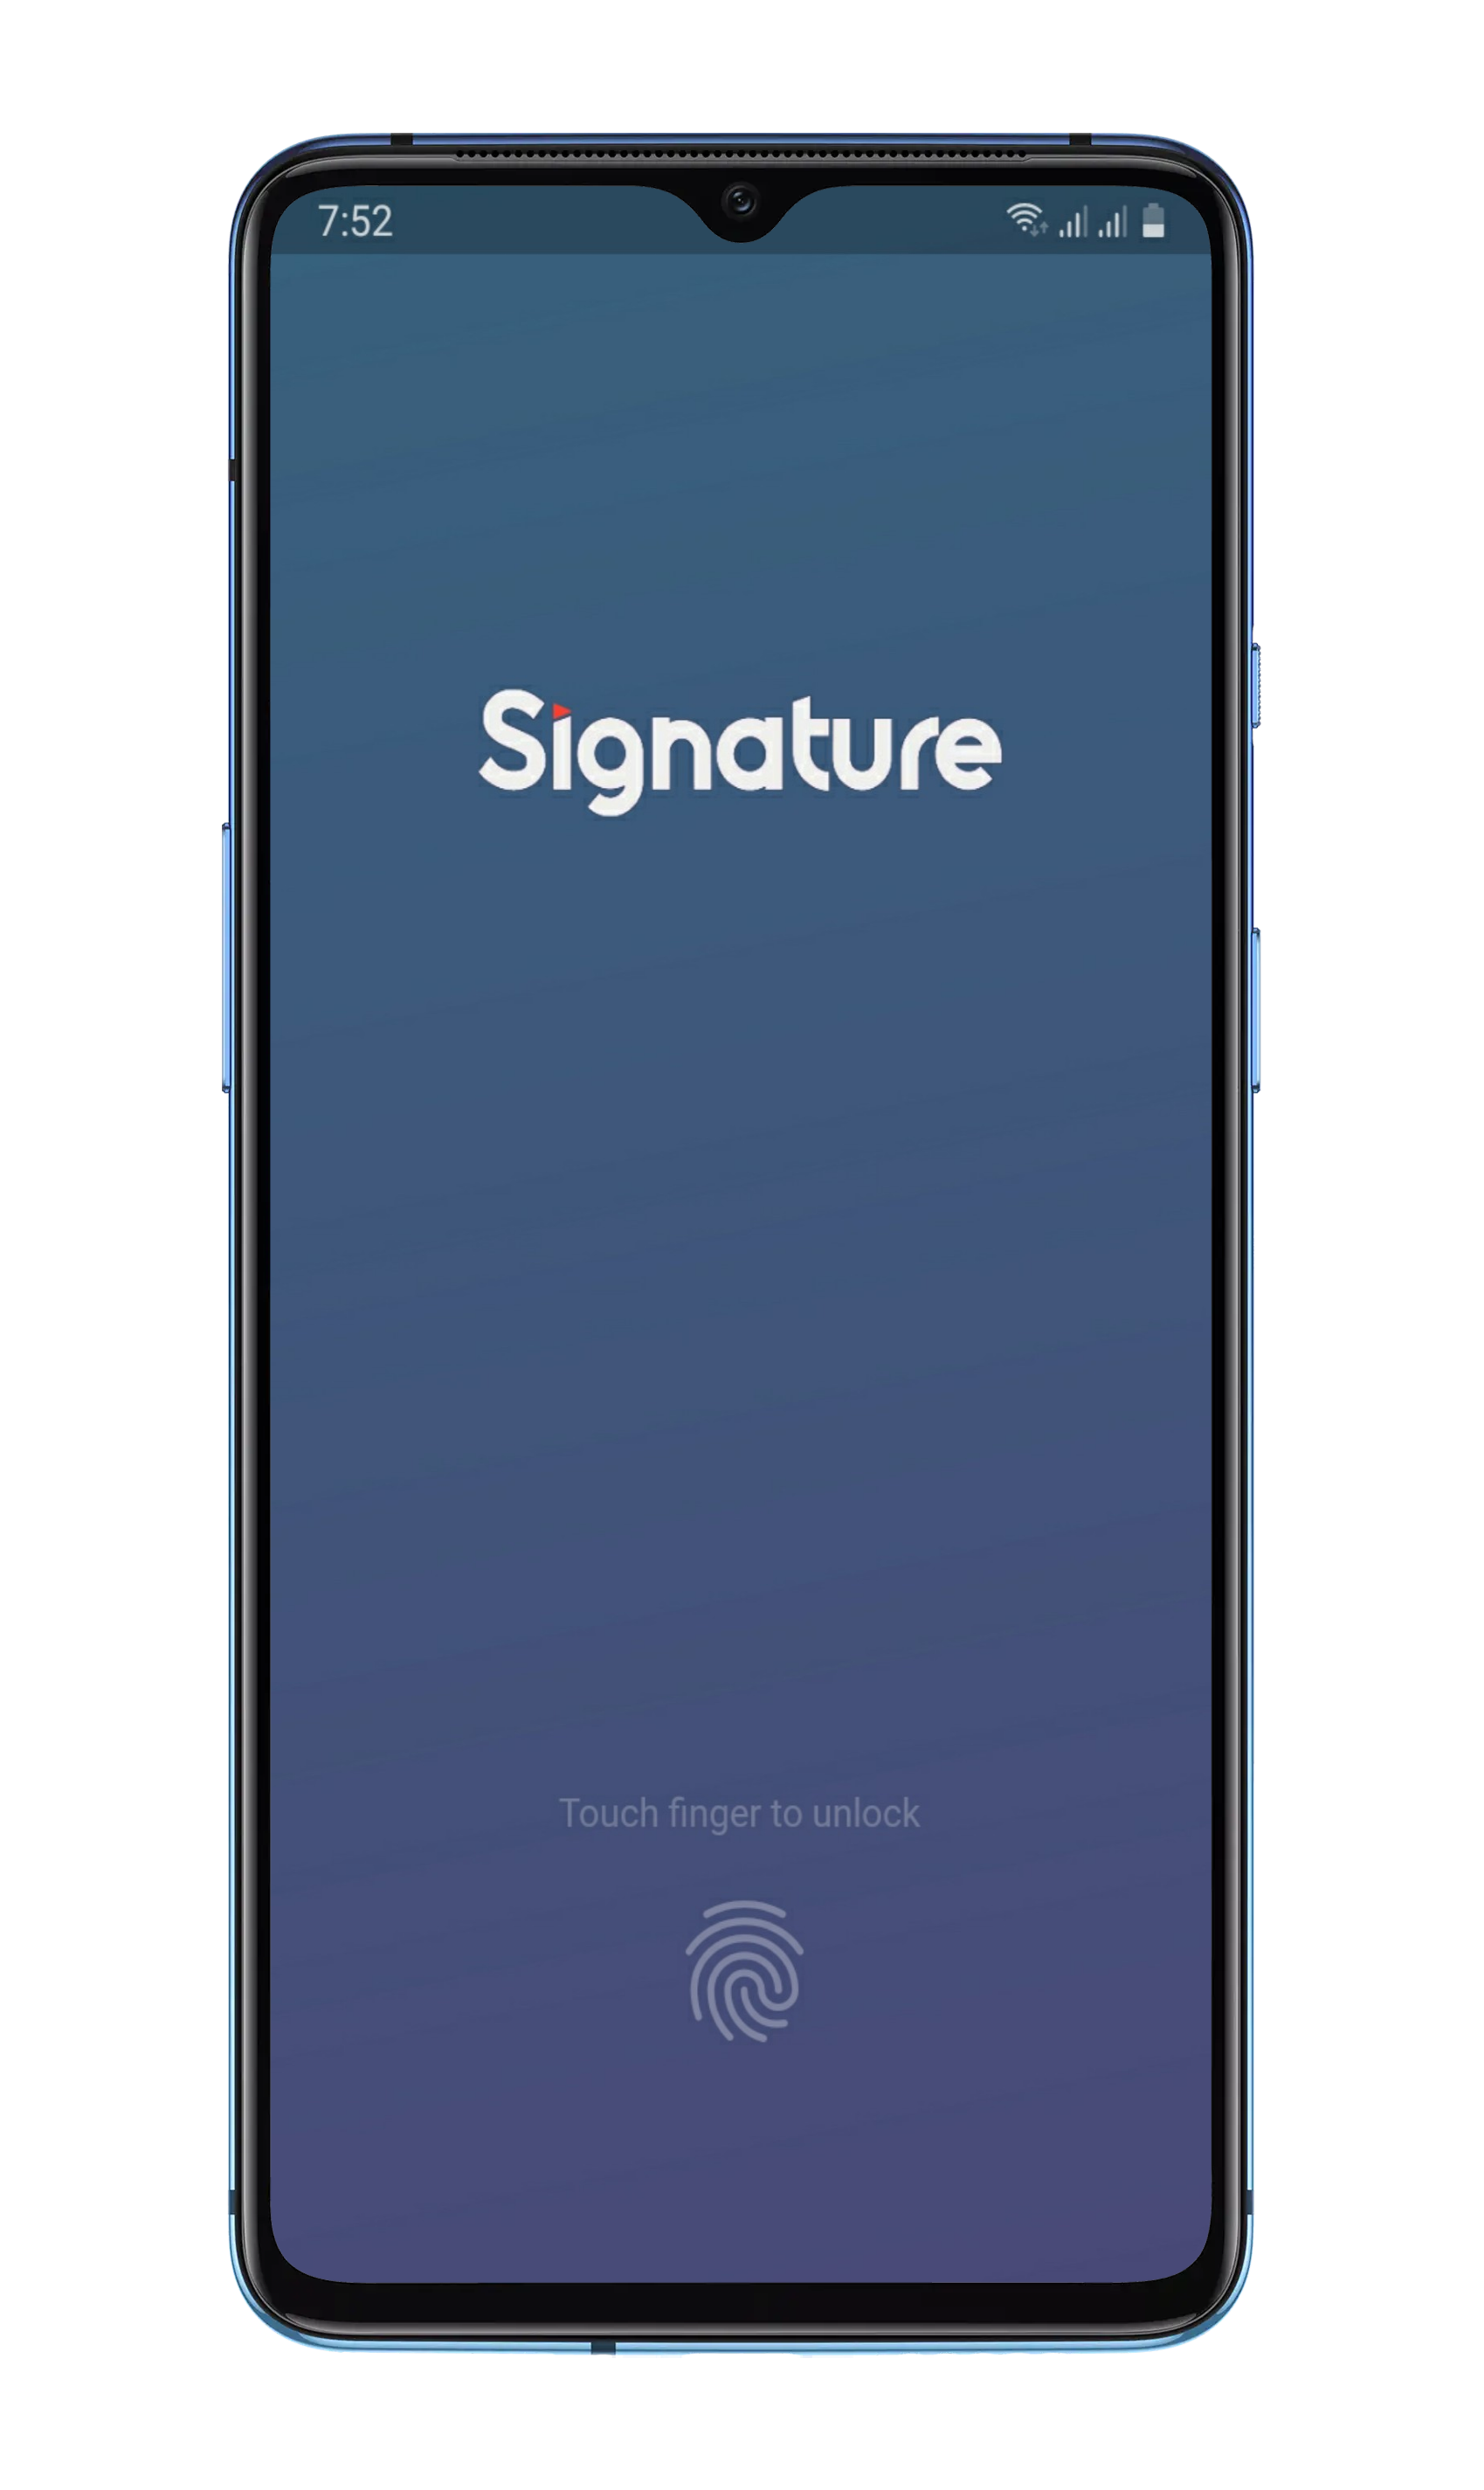
| Onboarding | SignUp | LockScreen |
|---|---|---|
 |
 |
 |
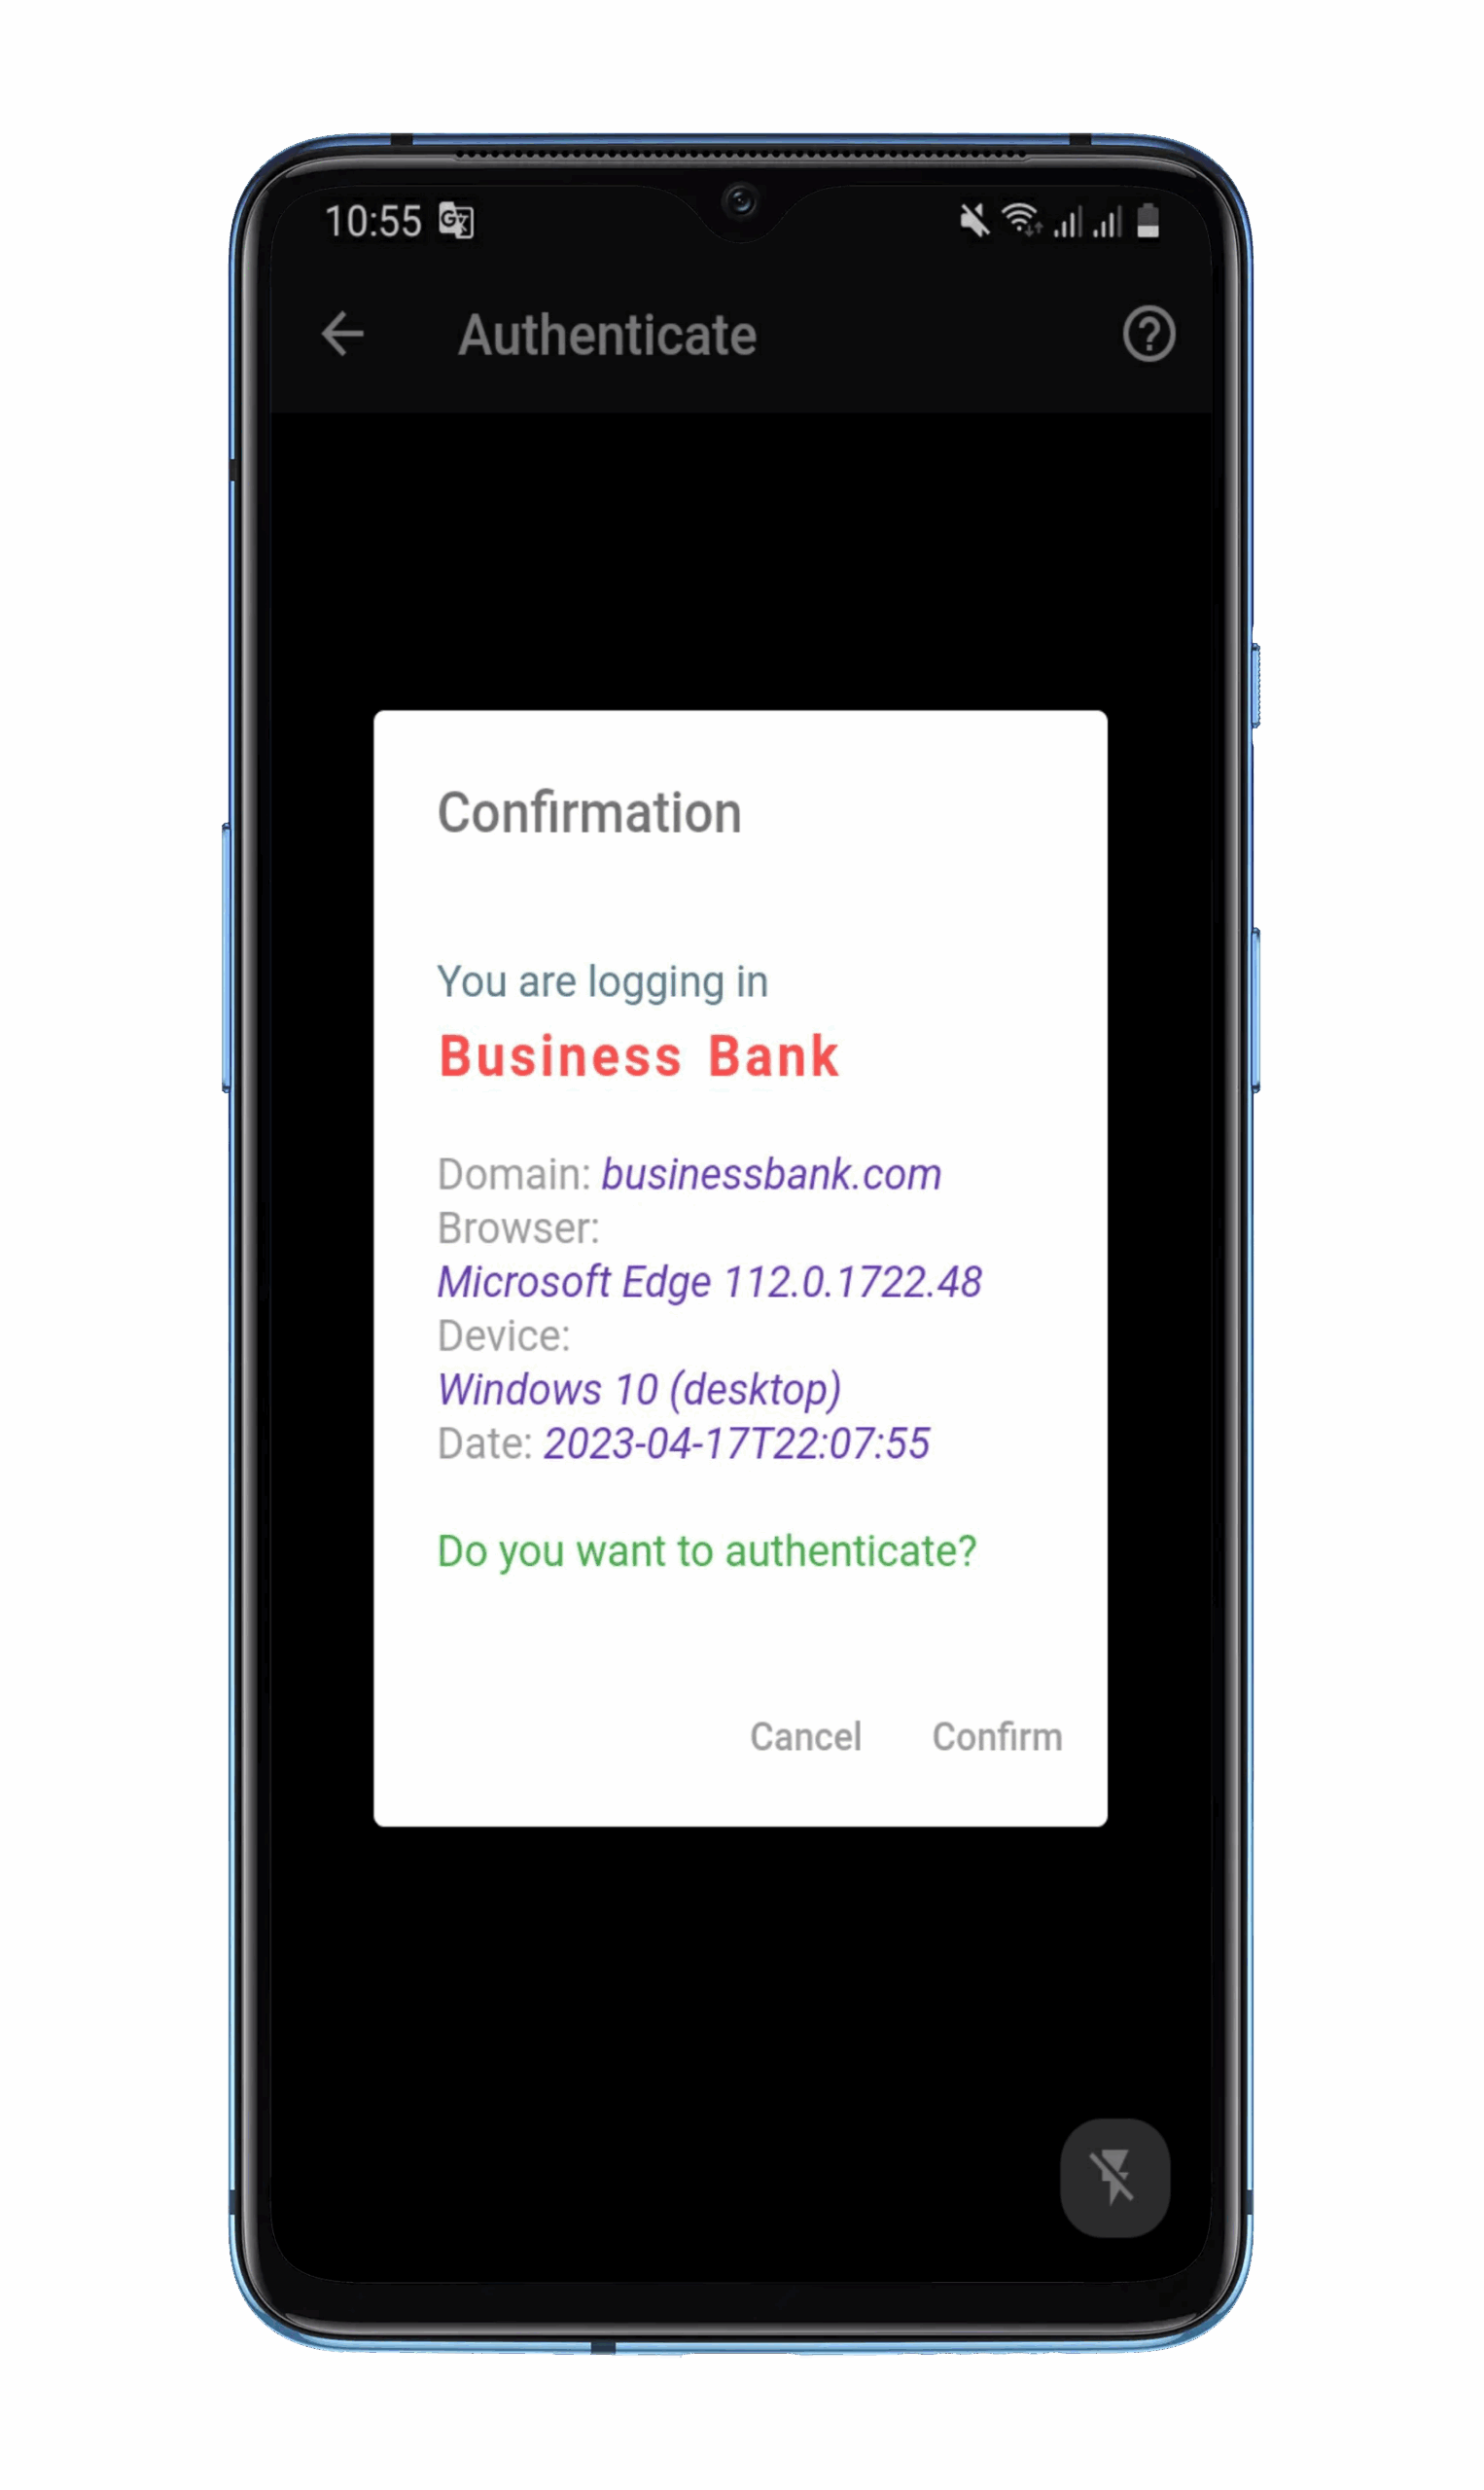
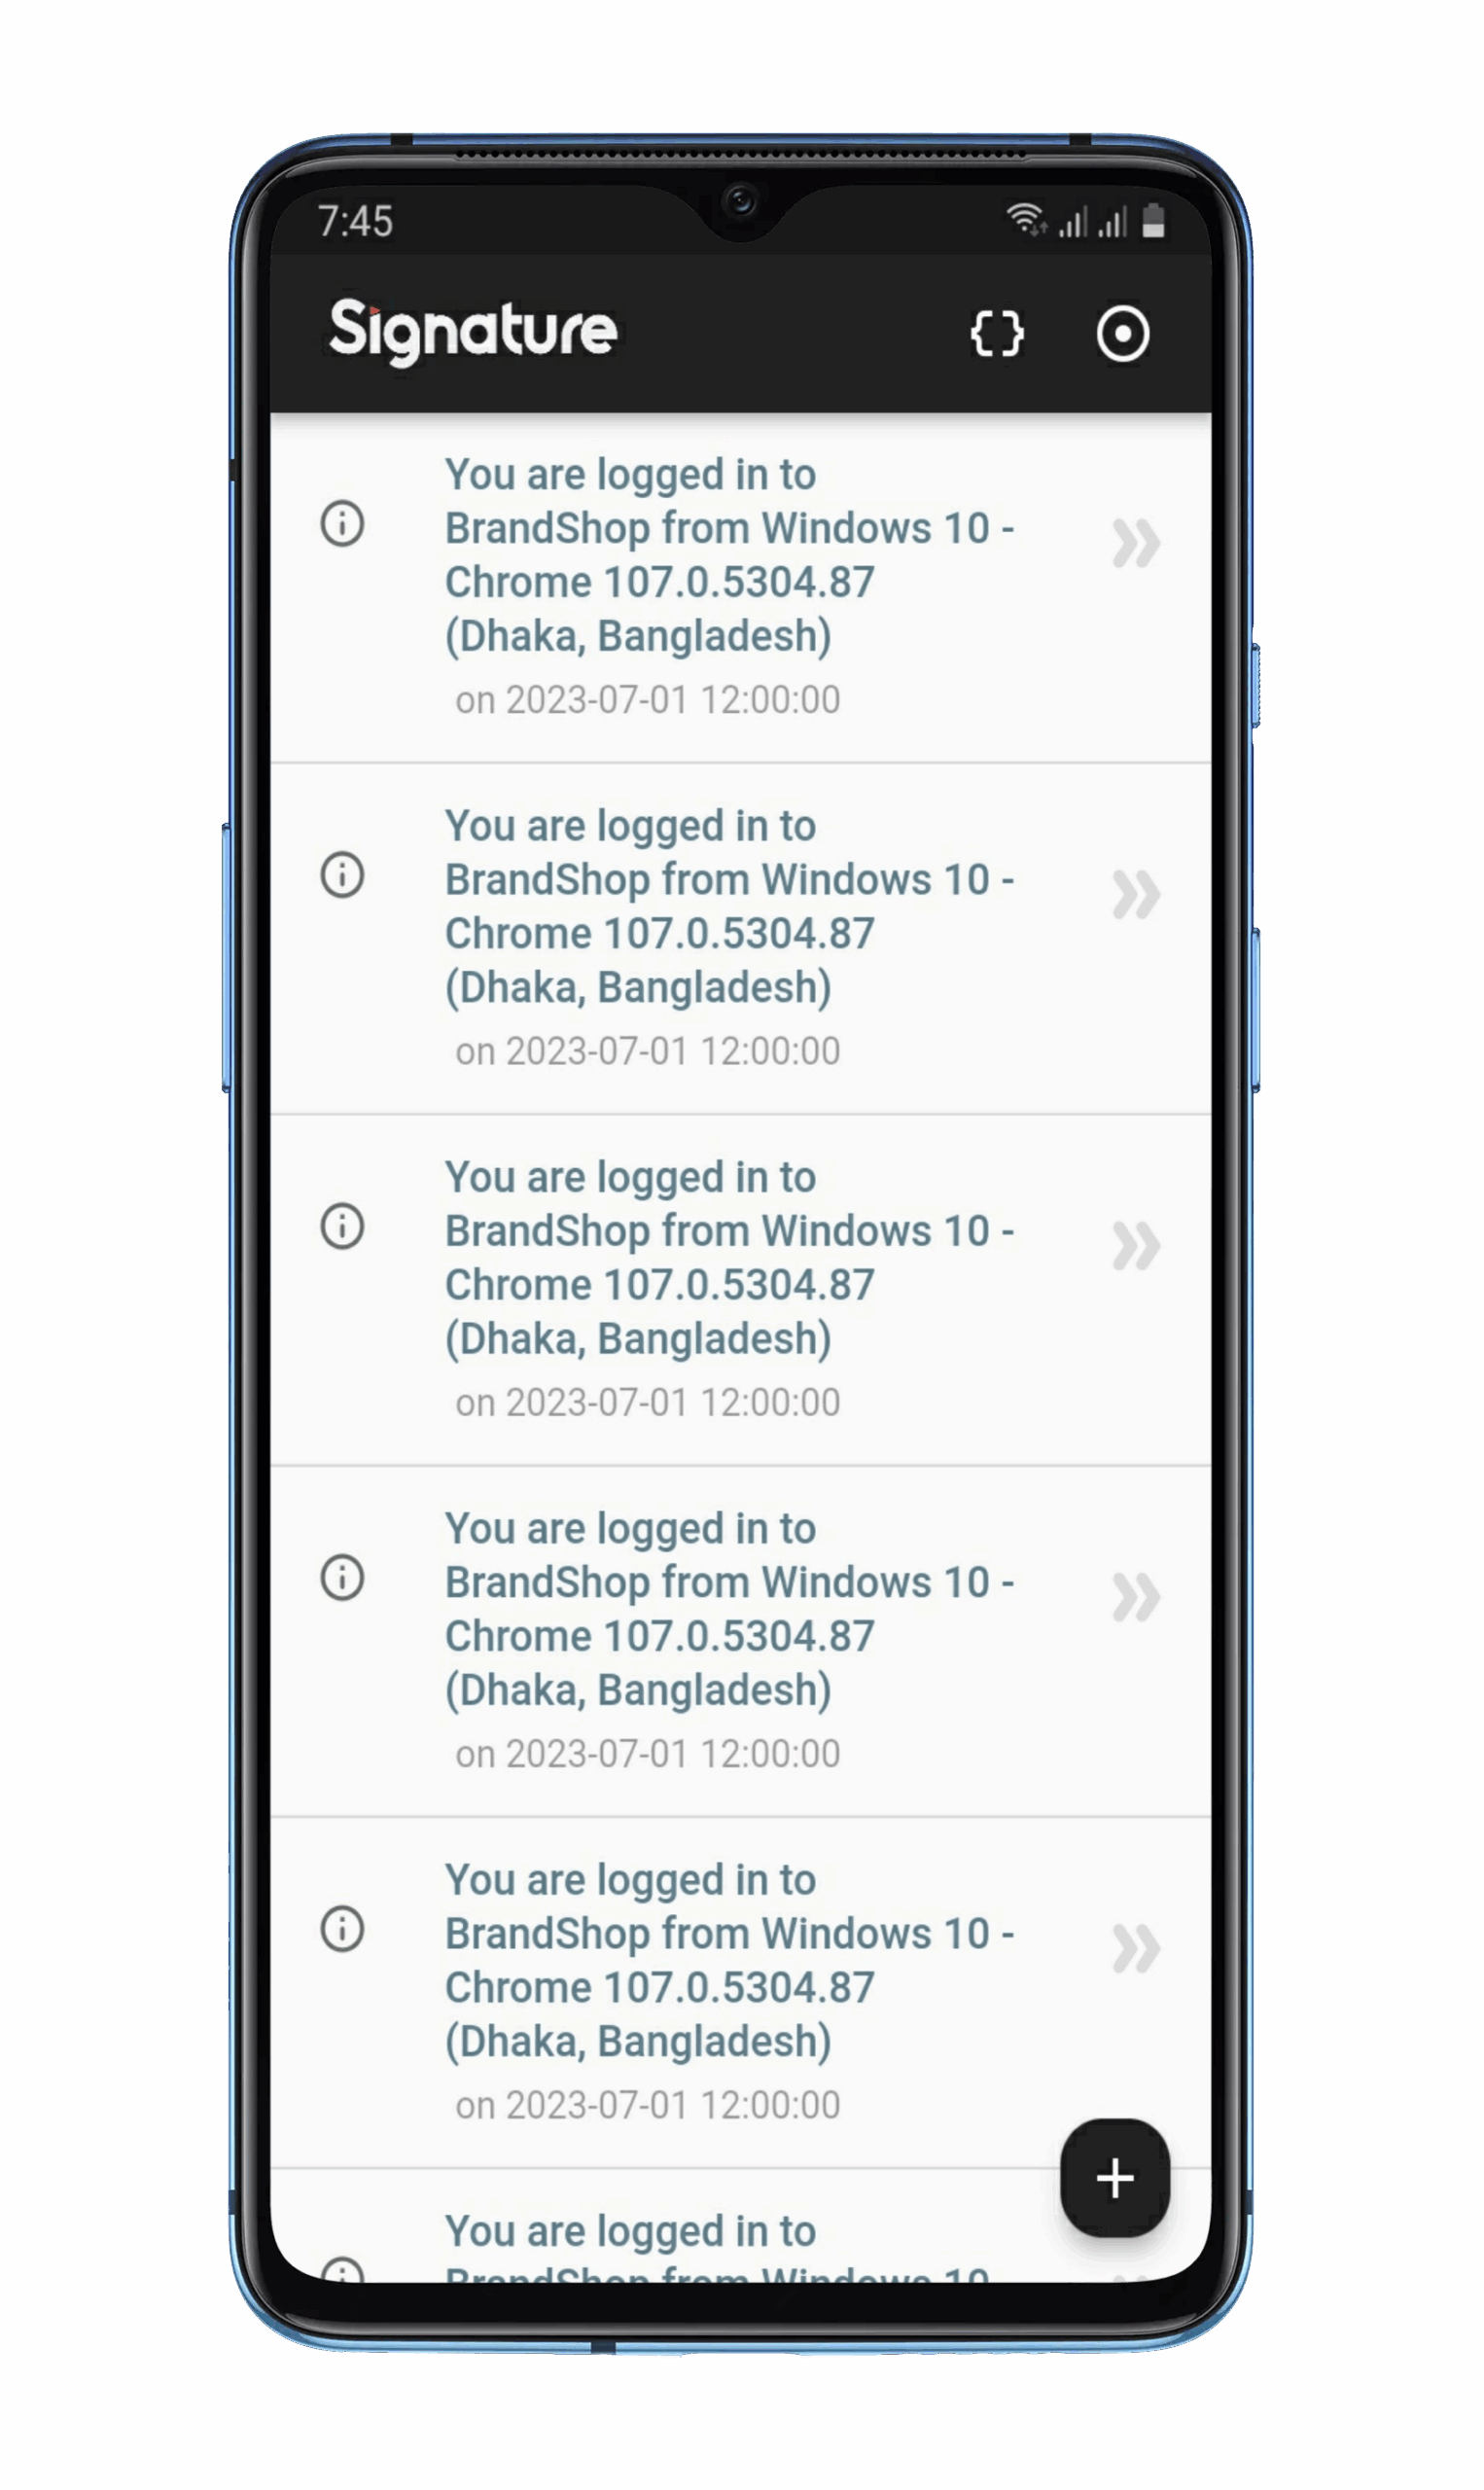
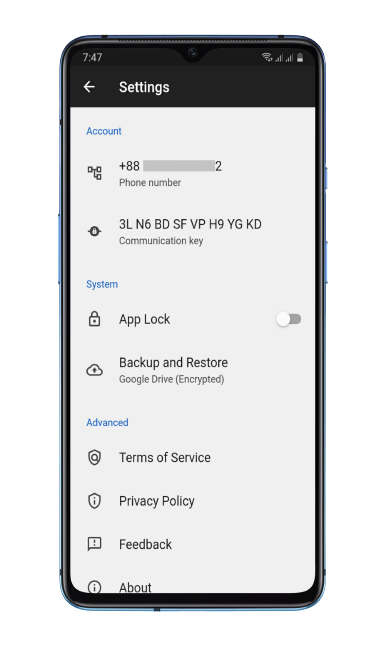
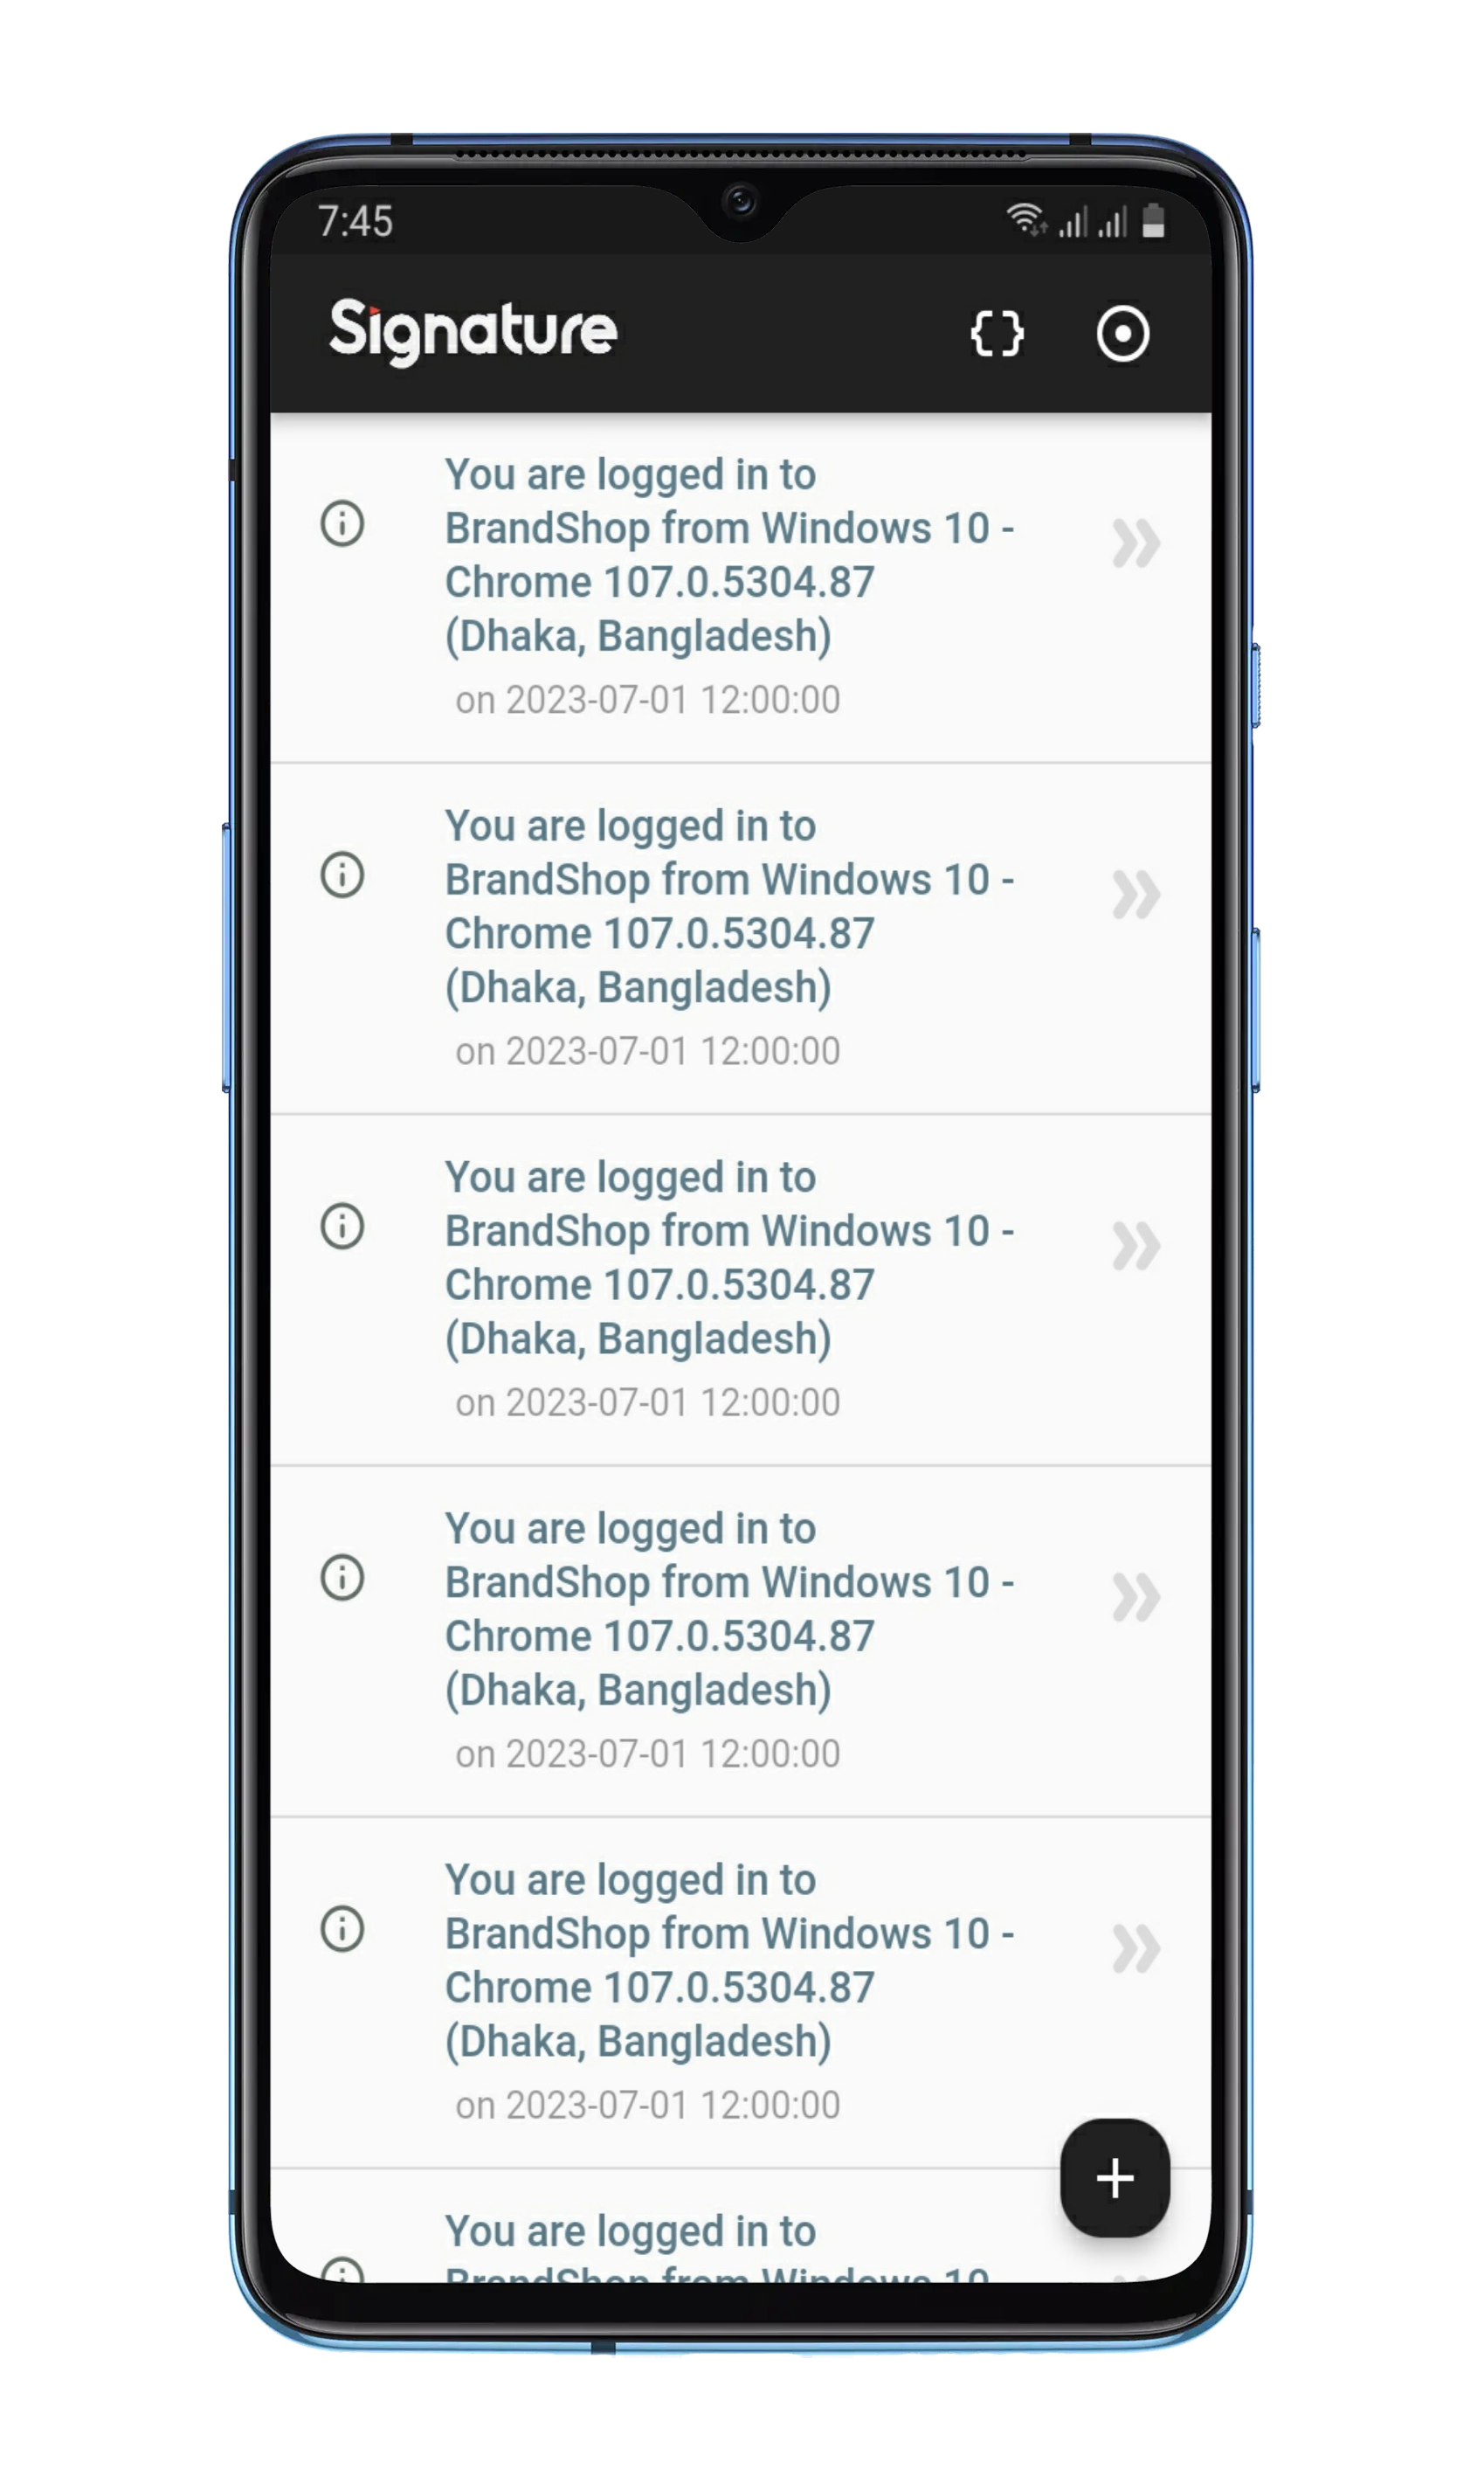
| AuthConfirmation | Homepage | Settings |
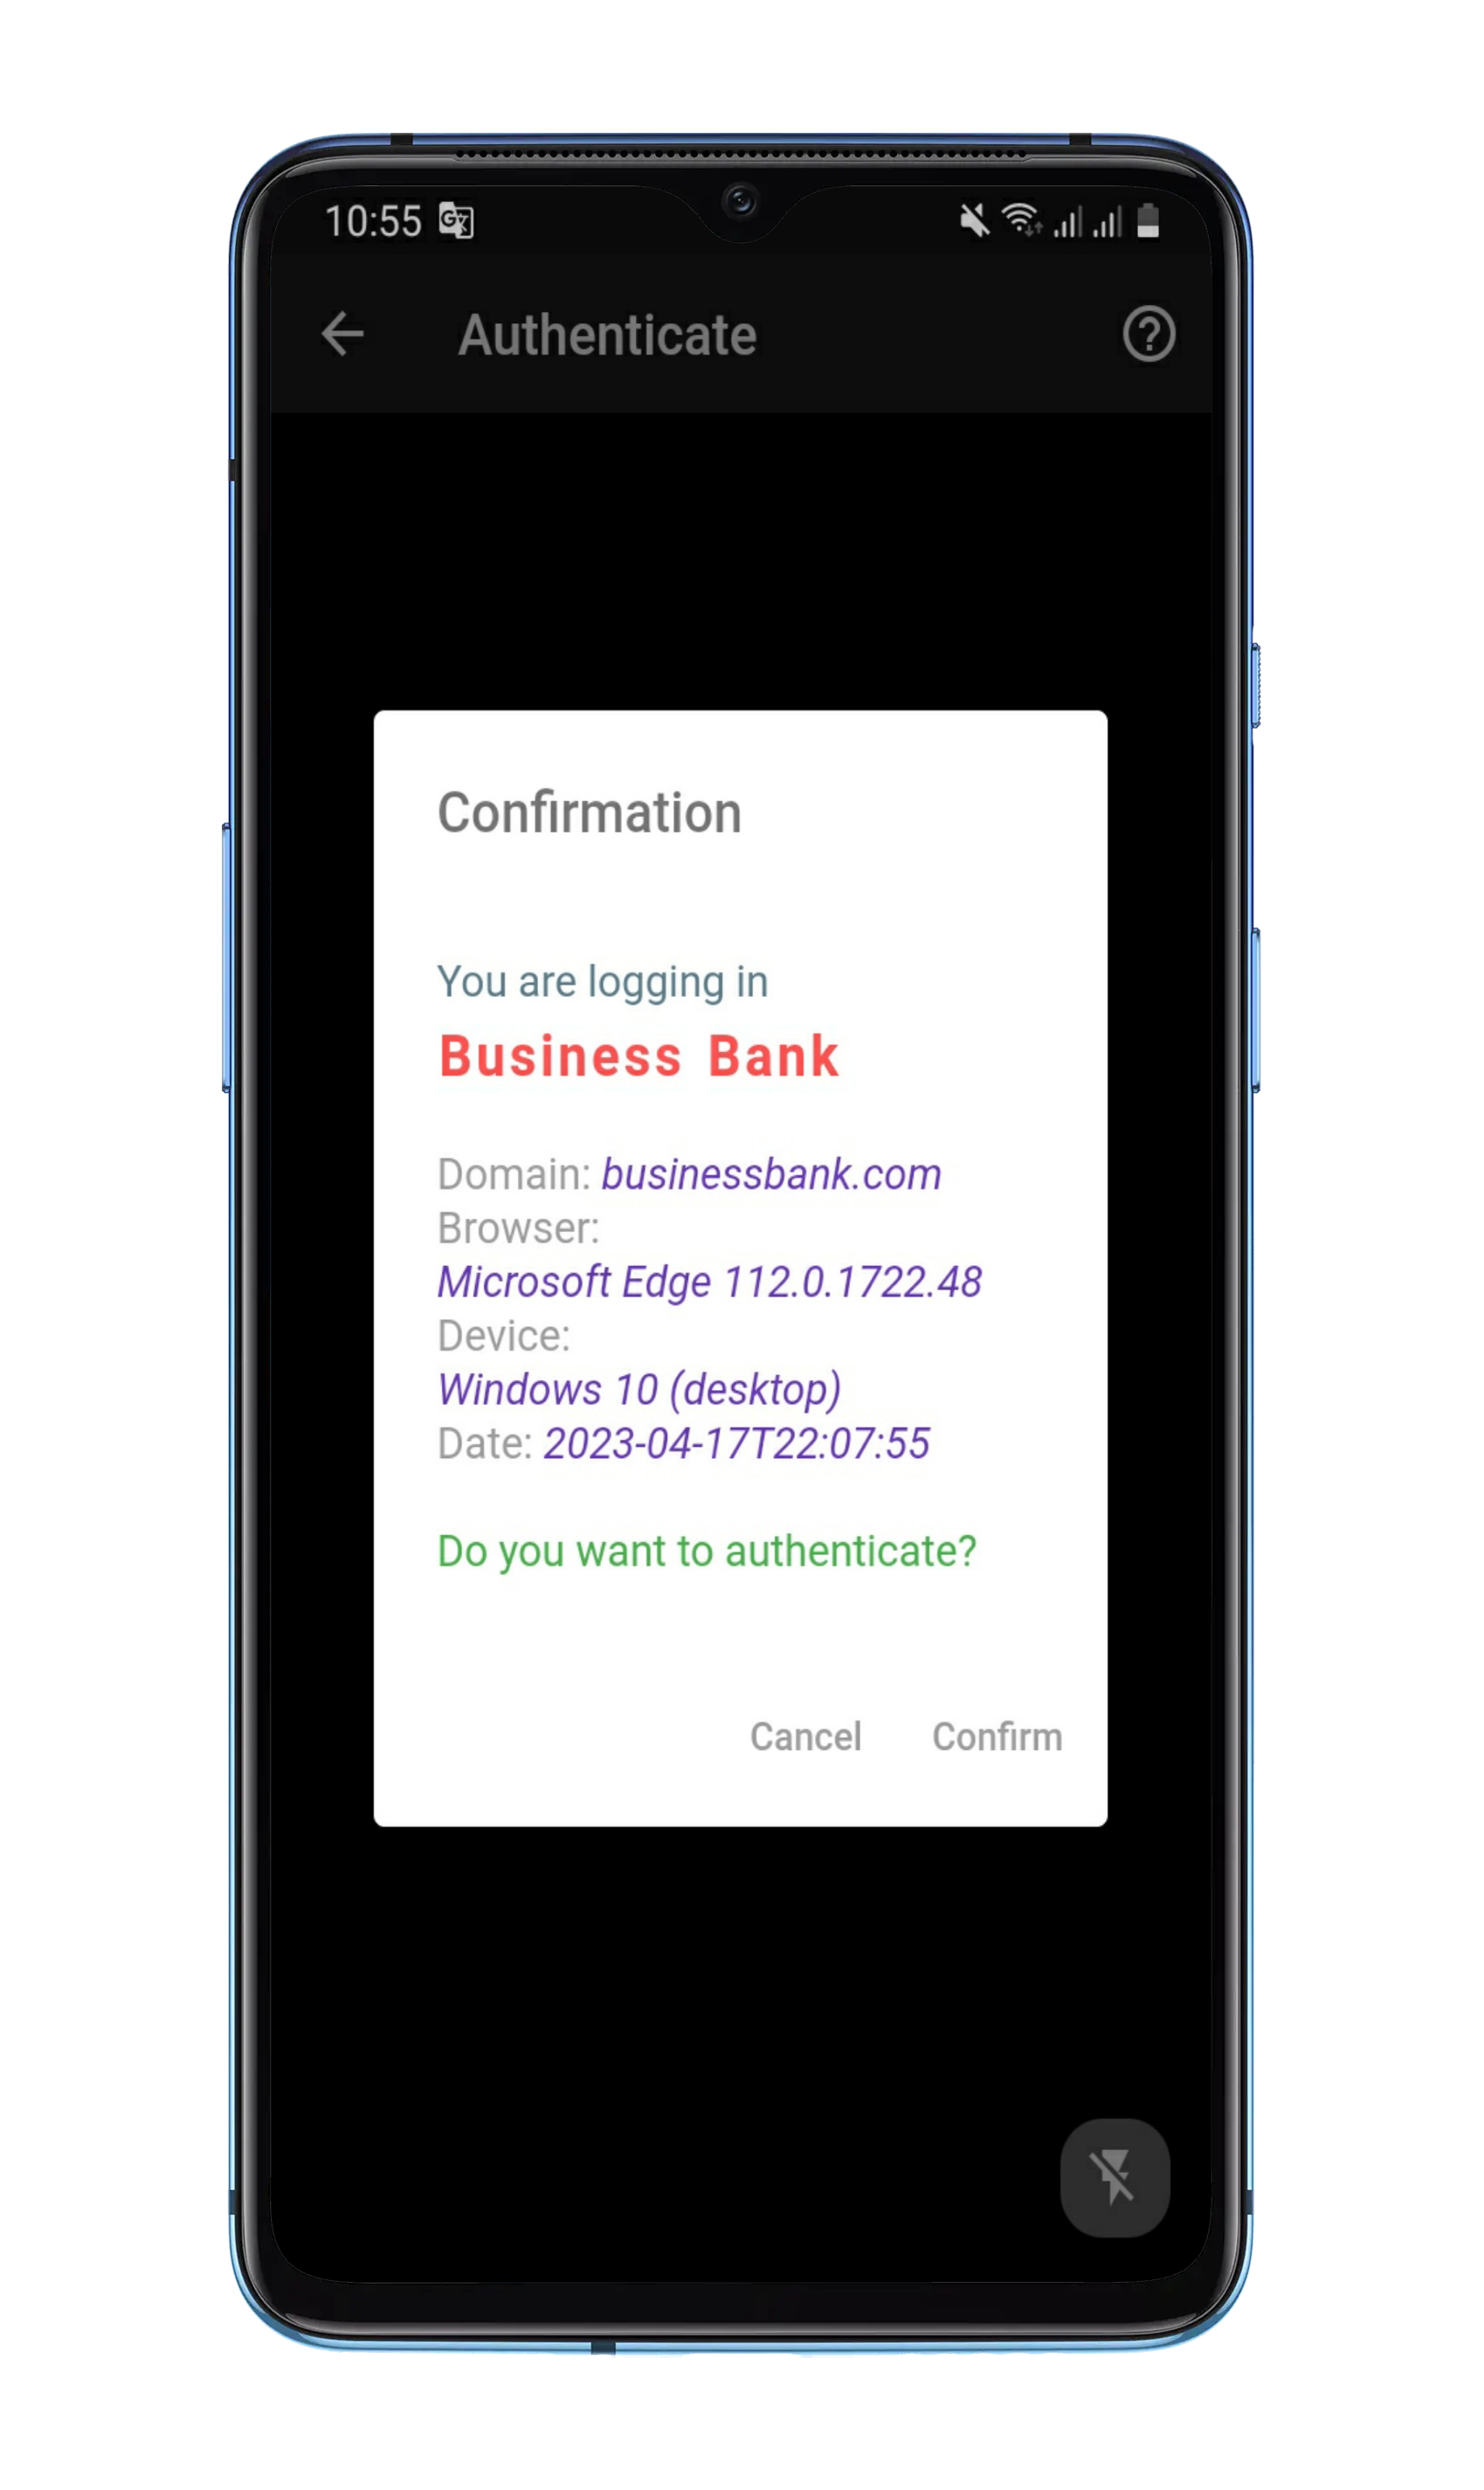 |
 |
 |
-
Clone the GitHub repository:
git clone https://github.com/aratheunseen/signature-passwordless-web-authenticaton.git
-
Navigate to the project directory:
cd signature-passwordless-web-authenticaton -
Get the required dependencies by running the following command:
flutter pub get -
Next, you need to create a new Firebase project and configure it for this application. You can follow the instructions in this article: https://firebase.google.com/docs/flutter/setup.
-
Once your Firebase project is set up, you’ll need to add your Firebase configuration files to the project. Specifically, you’ll need to add your google-services.json file for Android. You can download these files from the Firebase console.
-
After adding the Firebase configuration files, you need to enable Firebase Authentication in your Firebase project. You can do this by going to the Authentication section in the Firebase console and following the instructions to enable authentication. Once Firebase Authentication is enabled, you’ll need to set up the Firebase Authentication providers in your Flutter app. Specifically, you’ll need to configure the phone authentication provider. You can follow the instructions in this article: https://firebase.google.com/docs/auth/flutter/start.
-
Connect your Android or iOS device to your computer, or launch an emulator.
-
Run the app by executing the following command:
flutter runThis will launch the app on your device or emulator.
-
If you want to build an APK file, run the following command:
flutter build apk --release
Note: Before running the app, make sure you have a suitable development environment set up for Flutter. You can refer to the official documentation for more information on setting up your development environment: https://flutter.dev/docs/get-started/install.
- Flutter SDK installed on your computer
- Android Studio or VS Code with Flutter extensions installed
- An emulator or physical device to run the app on
- Git installed on your computer to clone the repository
 https://github.com/aratheunseen/signature